EXHIBITION NEWS
MABRI.VISION at the K trade fair 2019
At the “K” trade fair in Düsseldorf, MABRI.VISION is presenting the INLINE.SECTOR F1 optical measuring system for the inline testing of translucent tubes, which are primarily used in medical technology, for the first time. Unlike laser-based systems, it also measures the inside diameter and wall thickness. MABRI.VISION also shows systems for microstructure testing and multimodal 2D and 3D image capture.
You can find us in hall 8b at stand F39-03 . We look forward to meeting you at the K trade fair 2019!
360° INLINE HOSE TESTING
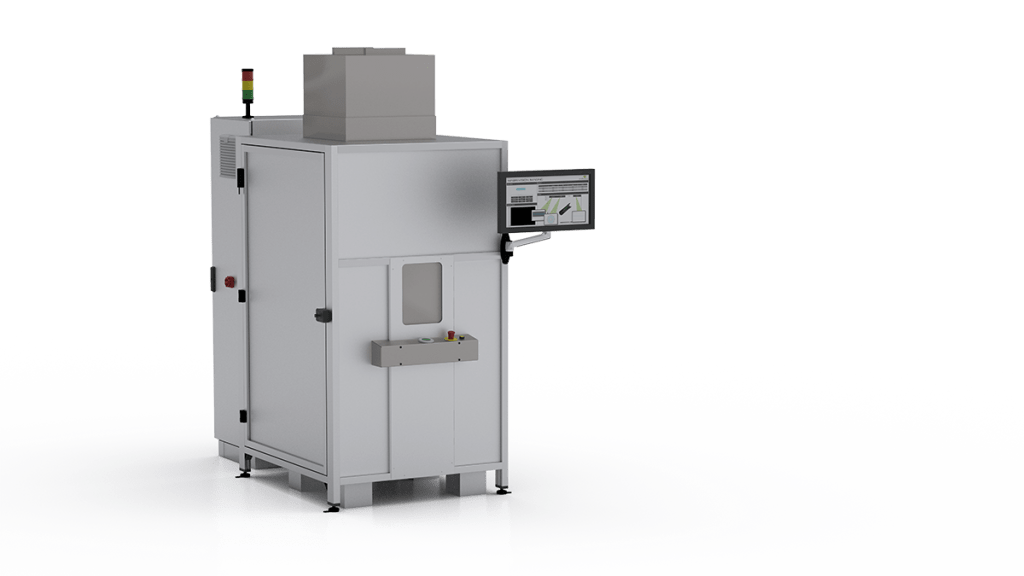
The new INLINE.SECTOR F1 testing system from MABRI.VISION, which the company is presenting for the first time at the “K”, enables highly precise inline testing of translucent tubes – for example made of PVC, silicone or PMMA – during production in the extrusion system.
The system checks the inside and outside diameters in eight axes and derives measurements such as minimum and maximum wall thickness, eccentricity and ovality. The interferometric 360° sensor developed by MABRI.VISION has a higher resolution than X-ray systems and at the same time a higher measurement frequency. Since the system only uses infrared light, no radiation protection measures are required.
Direct integration into the extrusion line enables precise control of the process in the production of translucent tubes and 100 percent control of production. In addition, it makes setting up the extrusion system easier. By storing the measurement data, it ensures complete traceability.
The first systems have passed their fire test at leading manufacturers of hoses for medical technology.

High-speed inline testing of large-area microstructures
The surface of plastic components that have microstructures in the range of a few micrometers, for example injection molded parts with a lotus effect or chip laboratories (lab-on-a-chip), could previously only be examined randomly and with a lot of time under a microscope or with low resolution be scanned.
With the MV.EYE MI1 inspection system, MABRI.VISION now offers a fast, inline-capable solution for automated control during production. It scans the surface structure of components with dimensions of up to 80 x 200 mm with a resolution of better than 2 µm within less than 35 seconds. Depending on the production cycle, the system has the potential for 100 percent testing of the microstructure.
Complete testing of injection molded parts
The dimensional accuracy of complex-shaped injection molded parts has previously been checked manually or only randomly in many factories. With a large number of test features and high demands on accuracy, conventional systems - including coordinate measuring systems - reached their limits... especially when both 2D and 3D features had to be checked at high clock frequencies.
The new multimodal system MV.EYE i2 checks the shape and position tolerances of the components with high precision inline and in line with production, and it also detects surface defects and contamination. A typical measurement cycle only lasts three seconds.
MV.EYE i2 combines different technologies – imaging, optical micrometers and laser triangulation – in a single system. The test cell contains, among other things, a high-resolution camera system that, despite the large image field of up to 200 x 200 mm, measures with a resolution of a few micrometers. Height information is determined using an optical micrometer and laser triangulation.

