our standard configurations are 0.48µm, 0.75µm and 3.5µm pixel resolution
High-speed microscope for your production
MICRO.SPECTOR
Check the smallest components and structures in the process cycle? With our high-speed microscope MICRO.SPECTOR we automate the inspection of microstructured components. The MICRO.SPECTOR detects the smallest defects and shape deviations - defective components are thus reliably sorted out. The MICRO.SPECTOR can be operated as a stand-alone solution or as a fully automated in-process test system.
HIGH-SPEED INLINE TEST
of microstructured components
Our MICRO.SPECTOR enables fully automated testing of microstructured components and products for defects, shape deviations and dimensional accuracy.
Bad parts are automatically recognized and can thus be ejected from the production process. The MICRO.SPECTOR has a modular structure and can be used as a stand-alone system or as a fully automated solution in production.
With barcode tracking, FFU, lifting door, auto-loading, cleaning and many other modules, we can adapt the system exactly to your needs. Depending on the configuration, we work with pixel resolutions from 0.48 µm. Cycle times in the production cycle are achieved through fast data acquisition and processing. With our MICRO.SPECTOR, you can inspect larger quantities reliably and quickly - simply impossible by hand.
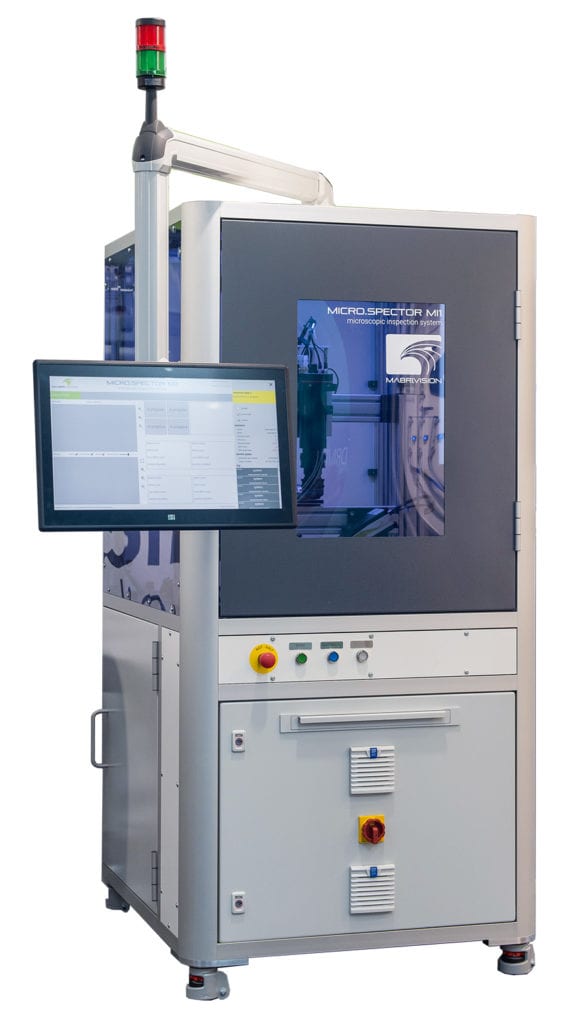
MICRO.SPECTOR
the most important facts at a glance:
High Resolution
extensive
in our standard configuration we scan up to 300 x 300 mm²
quickly
our high-speed variant works with a multi-line camera with 17,824 pixels and up to 142kHz
Clean room solutions
whether stand-alone or process-integrated - we offer FFUs, lifting doors, code readers or cleaning systems
automated
our modules: automated test recipes, automated loading and automated feeding
End-to-end
from the test design on the first samples to full automation - we offer turnkey solutions
INTEGRATION
as you need it
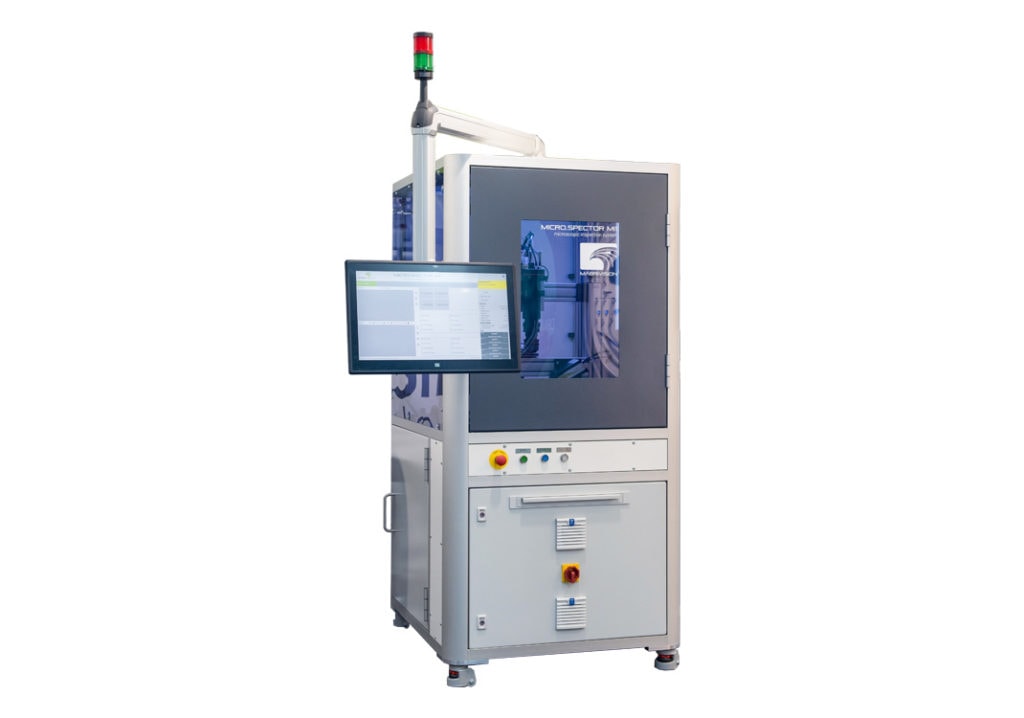
Internal chip testing
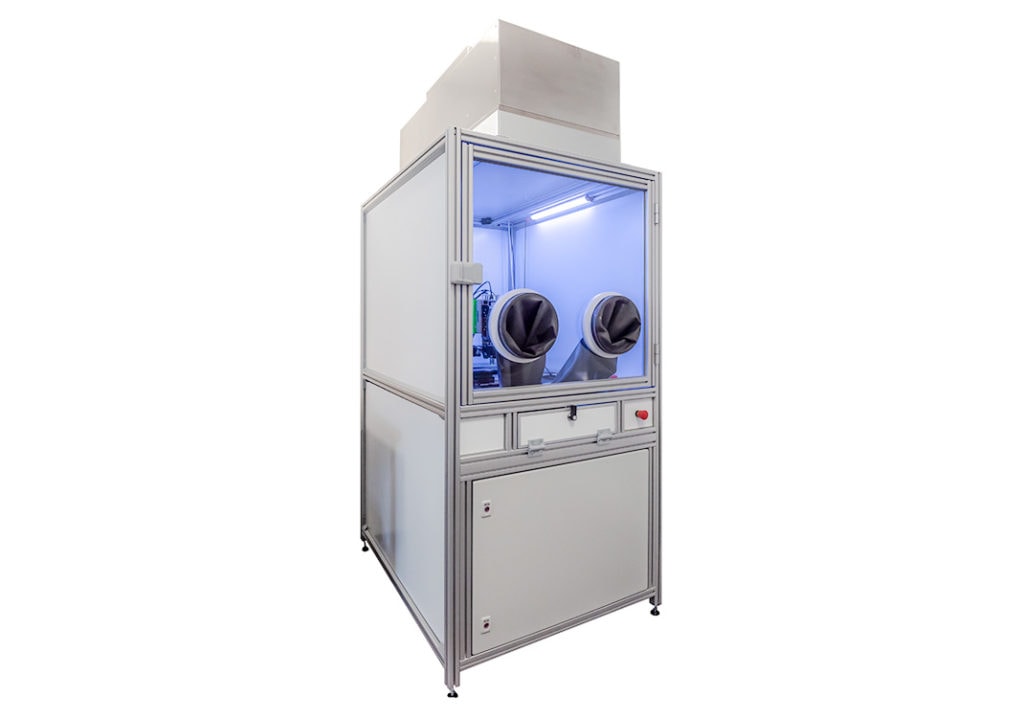
Production QC laboratory

Production 100% testing
INSIGHTS
smart solutions
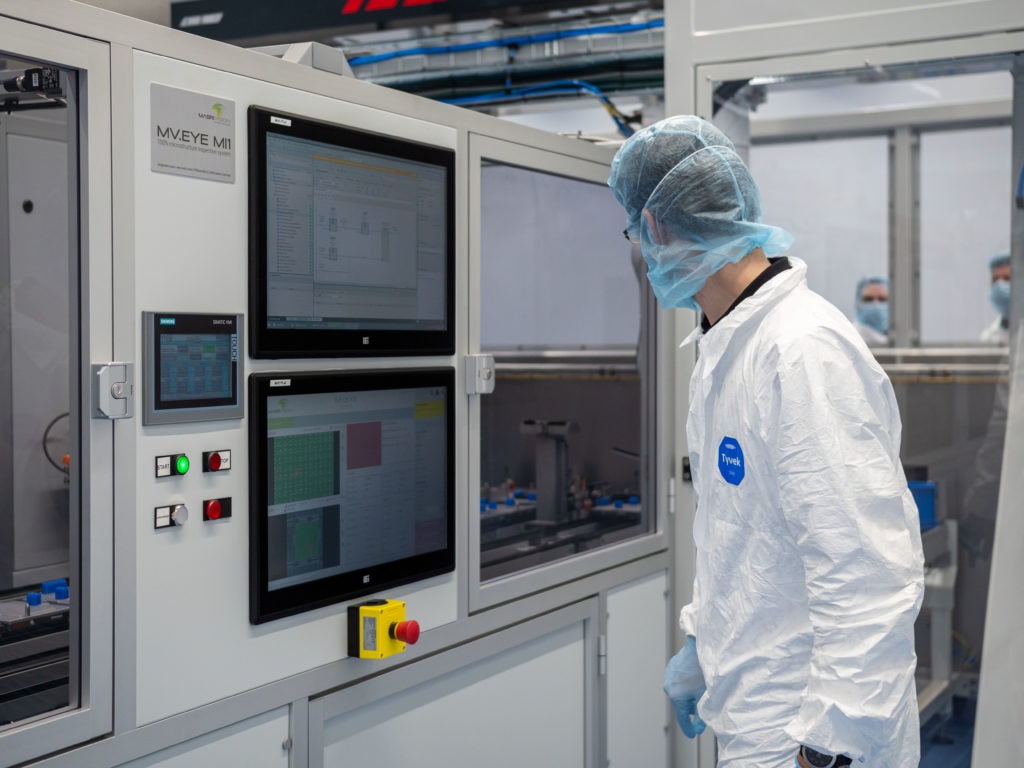
QC solutions
Our MICRO.SPECTOR is designed for direct integration into your production chain. From barcode tracking, change log, audit trail and user management to direct connection to your control level, we offer all the tools you need to make your QC more efficient and reliable.
Check microscopically & keep track
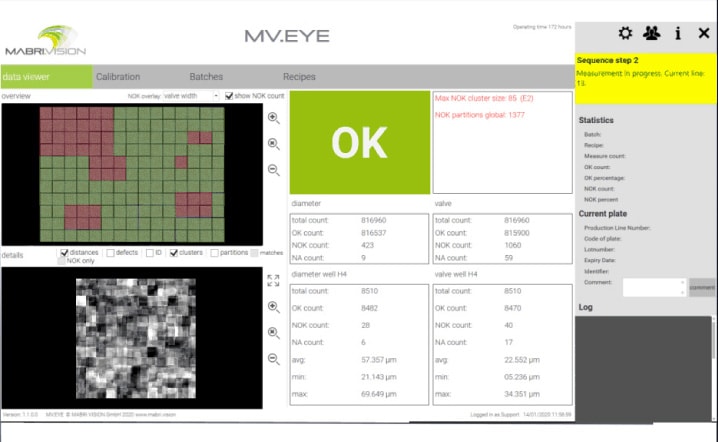
Our MICRO.SPECTOR systems are equipped with high-resolution vision systems to find microscopic defects and check dimensional accuracy. The system recognizes bad parts using fully automated test recipes based on your tolerances and threshold values and can eject them directly. We have designed our software in such a way that the essential KPIs and information are directly visible. This means you always have an overview of the performance of your production.
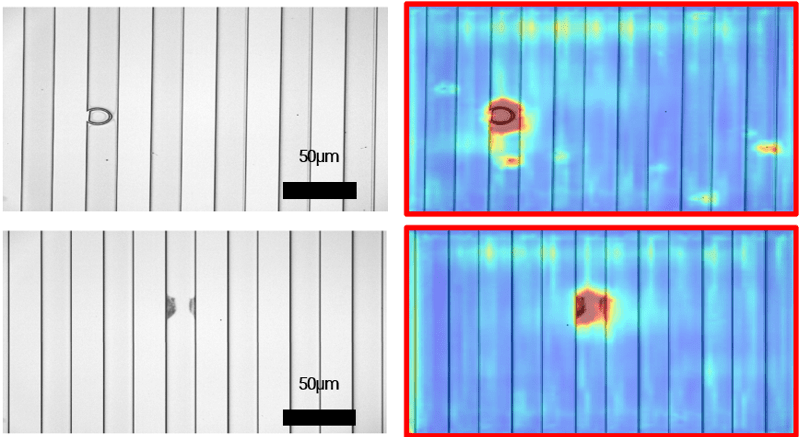
detect defects
The MICRO.SPECTOR specializes in processing large amounts of data. We have designed our software in such a way that even with higher resolutions, where more than 40,000,000,000 pixels can quickly occur, our systems do not collapse. Depending on the application, we rely on classic image processing or machine learning for defect detection. For time-critical applications, we rely on highly efficient algorithms to carry out the QC in the production cycle.
WHERE DO WE TEST
tell us
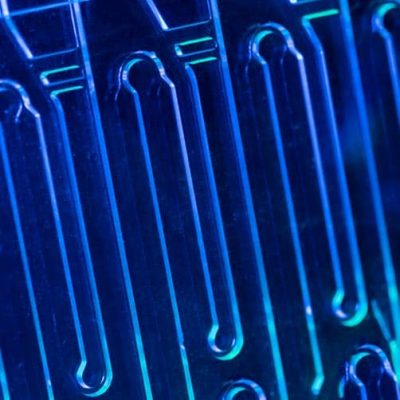
microfluidics
QC of lab-on-a-chip systems or microfluidic chips
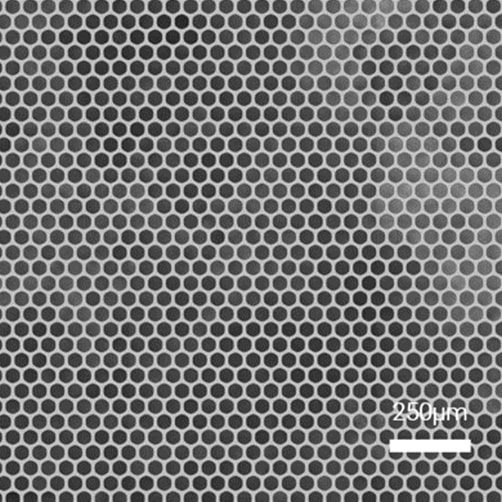
Microstructures
QC of microstructures on wafers, electroforms, metal surfaces
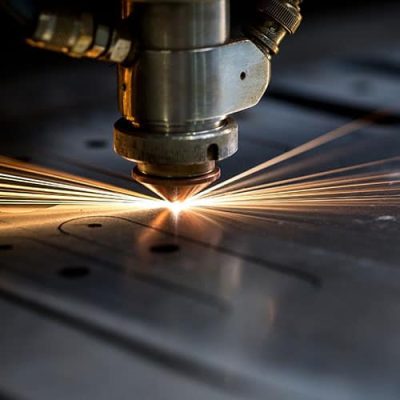
Laser micromachining
QC of microstructured components, holes, edges, shapes
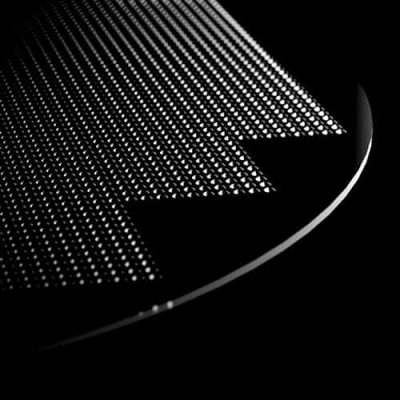
Micro Injection Molding
QC of smallest injection molded parts and structures
WHAT DO WE TEST
tell us
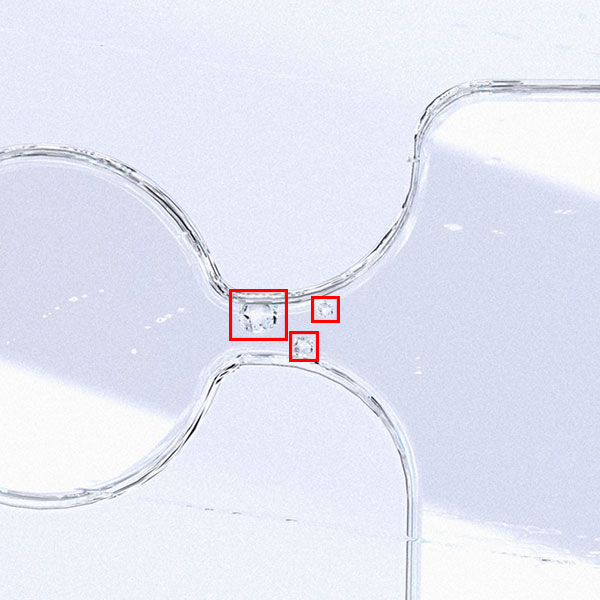
Defects
Blisters, scratches, cracks, seals, skins, particles, spikes, dust,..
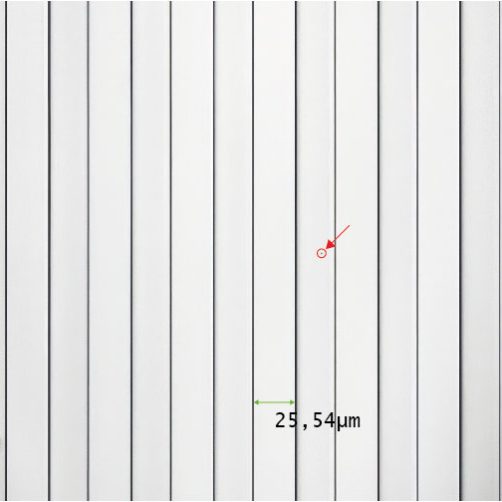
Dimensional accuracy
Channel widths, form fidelity, roundness, continuity, distances,..
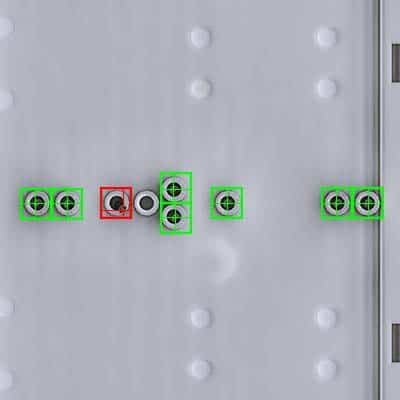
presence
Missing or incomplete structures, incorrect placement
FAQs on the MICRO.SPECTOR
That depends entirely on your application. Often the optimal balance between resolution and speed has to be found. With some solutions, we test entire components within a few seconds, with other high-precision applications in the laboratory, the test times can be significantly longer.
The MICRO.SPECTOR is based on machine vision systems consisting of matrix and line scan cameras. Our focus is therefore on 2D tests. If you want to carry out 3D tests, please contact us. We also offer solutions with chromatic confocal line sensors or profile section systems.
Yes, in addition to the testing system, we also build automation solutions for equipping the system and for transporting the components. The systems are designed in such a way that they can be operated in parallel. This allows any scaling.
We are working to create a platform where our customers can implement almost any exam. The systems are currently designed in such a way that the tests are carried out by our experts and extensively tested for functionality. So we can guarantee the performance of the QC.
