Our systems are designed to handle high line speeds and low cycle times.
Testing solutions for steel and plastic pipes
As a leading provider in industrial image processing, MABRI.VISION supplies high-precision inspection systems for the quality control of steel and stainless steel pipes and plastic pipes. With our tailor-made solutions for automated tube and tube product manufacturing, we guarantee 100% inspection for dimensional accuracy and defects.
Our advanced tube inspection systems cover all key quality control points - from close inspection of the face, inside and outside bevel, to thorough examination of the surface and weld seam. In addition, we offer testing solutions for tube inner diameters over the entire tube length.
Trust MABRI.VISION when it comes to seamless quality control in your tube production. With our testing systems for steel and stainless steel tubes, you minimize production errors and ensure the consistently high quality of your tube products.
Experience how our machine vision inspection systems optimize the efficiency and quality of your manufacturing processes. With MABRI.VISION you invest in the highest quality and precision for your pipe production.
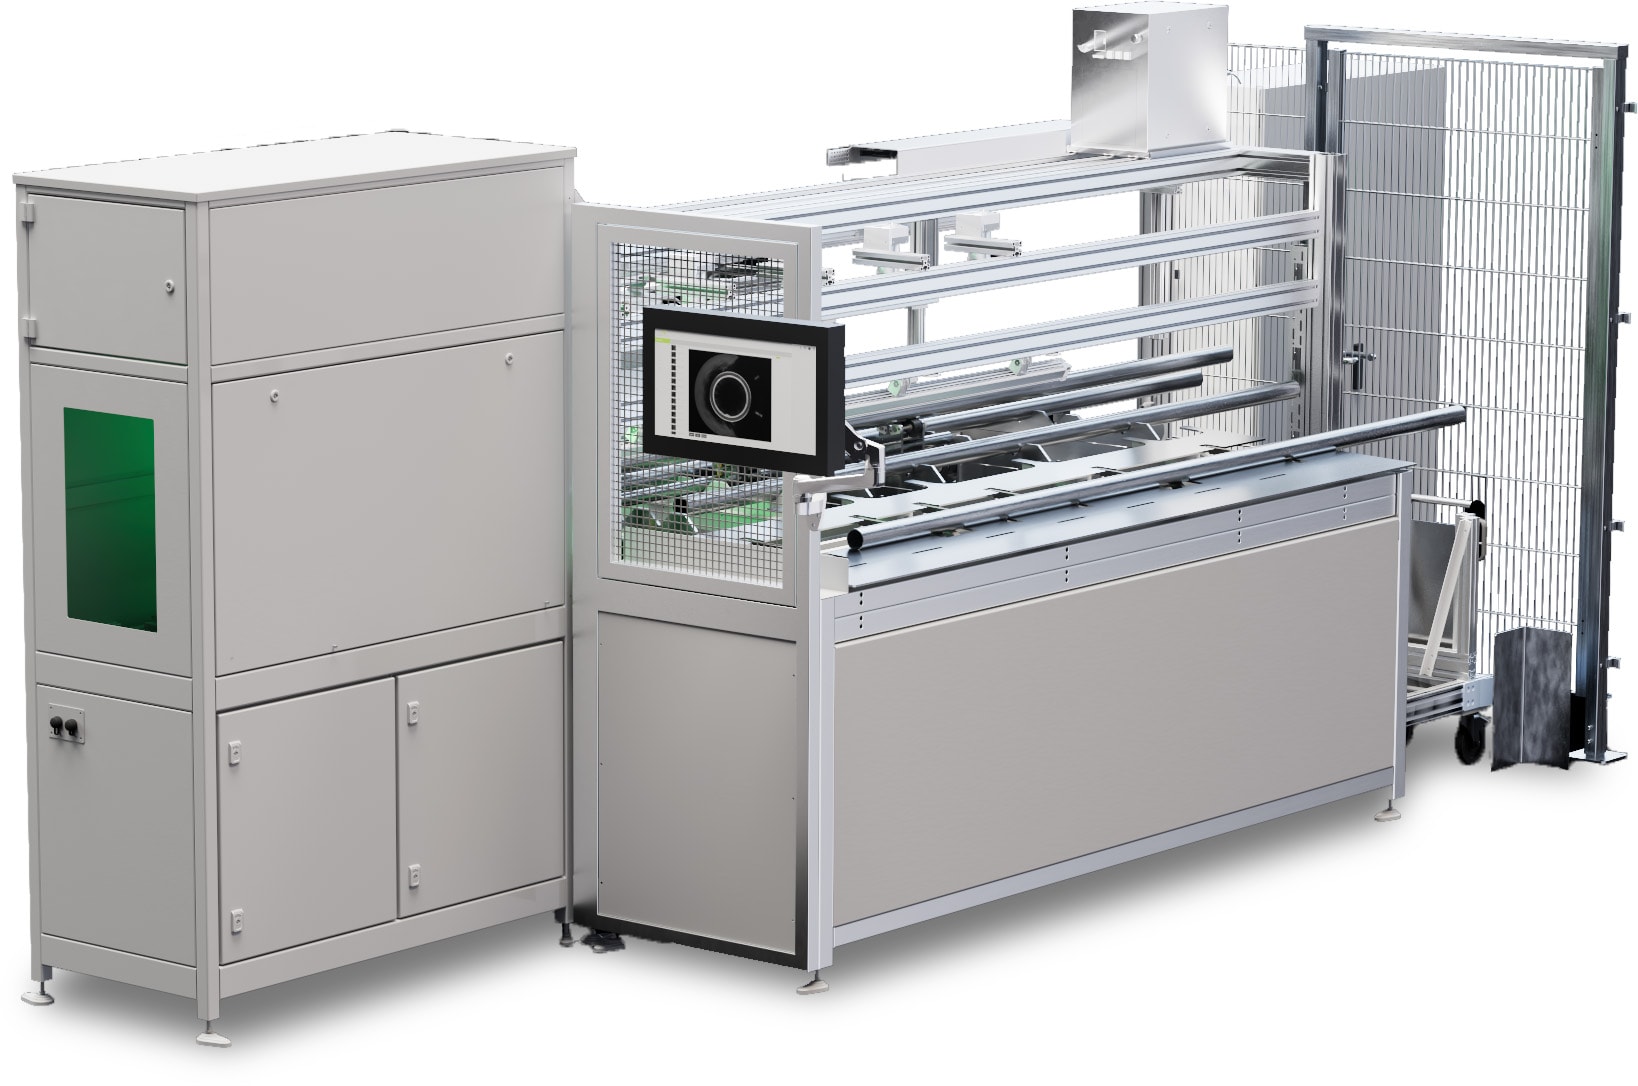
Testing solutions for steel and stainless steel tubes
efficiency and precision
Comprehensive data management
Comprehensive data storage, measurement reports and documentation images. We provide you with detailed insights into the testing process and valuable information for your quality assurance.
Customized solutions
We develop customer-specific applications and process controls that fit seamlessly into your existing ERP and production system.
Your success is our goal
We look forward to introducing you to our innovative solutions for the optical quality inspection of tubes. Our goal is to help you maximize the quality of your products.
Extensive testing options
We offer monitoring of the welding process, inspections in the sawing center and in the drawing process, as well as various surface, groove and weld seam inspections.
End-to-end
from the test design on the first samples to full automation - we offer turnkey solutions
WHERE do we check?
from the welding process to the finished pipe

What are we checking?

Internal chip testing

Inner & outer bevel
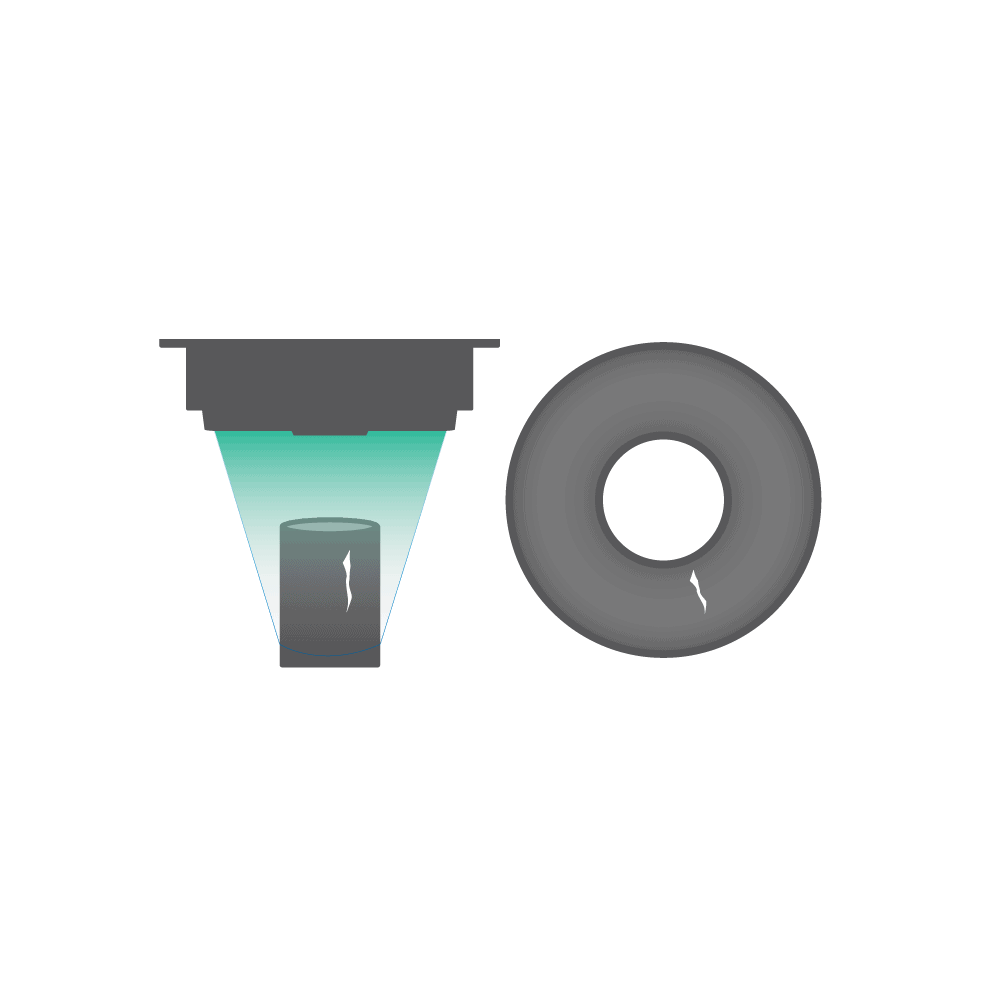
360° - lateral surface
Our testing systems ensure uncompromising testing of the outer surface of metal pipes in 360° - for optimal further processing.
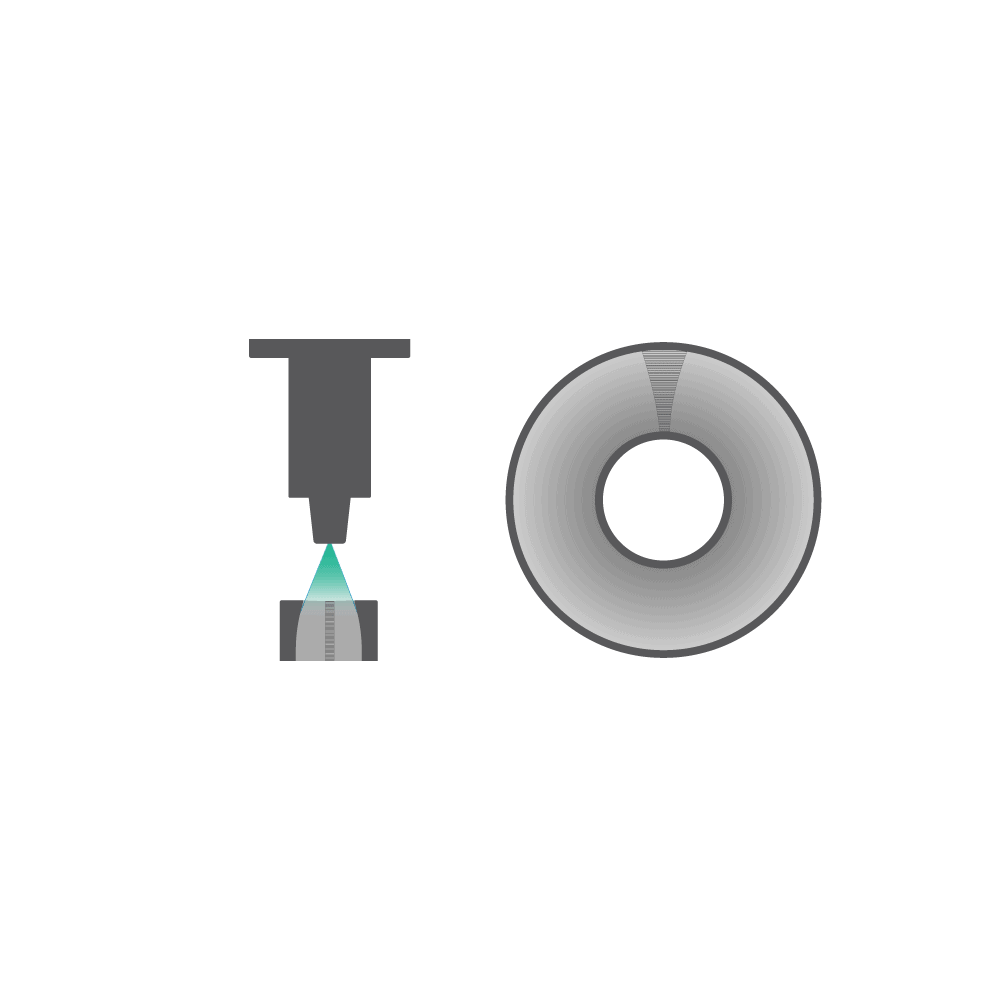
360° - inner surface
The inspection system is specially designed for the inspection of metal pipes through the use of several optics and offers, among other things, a 360° inspection of the inner surface.
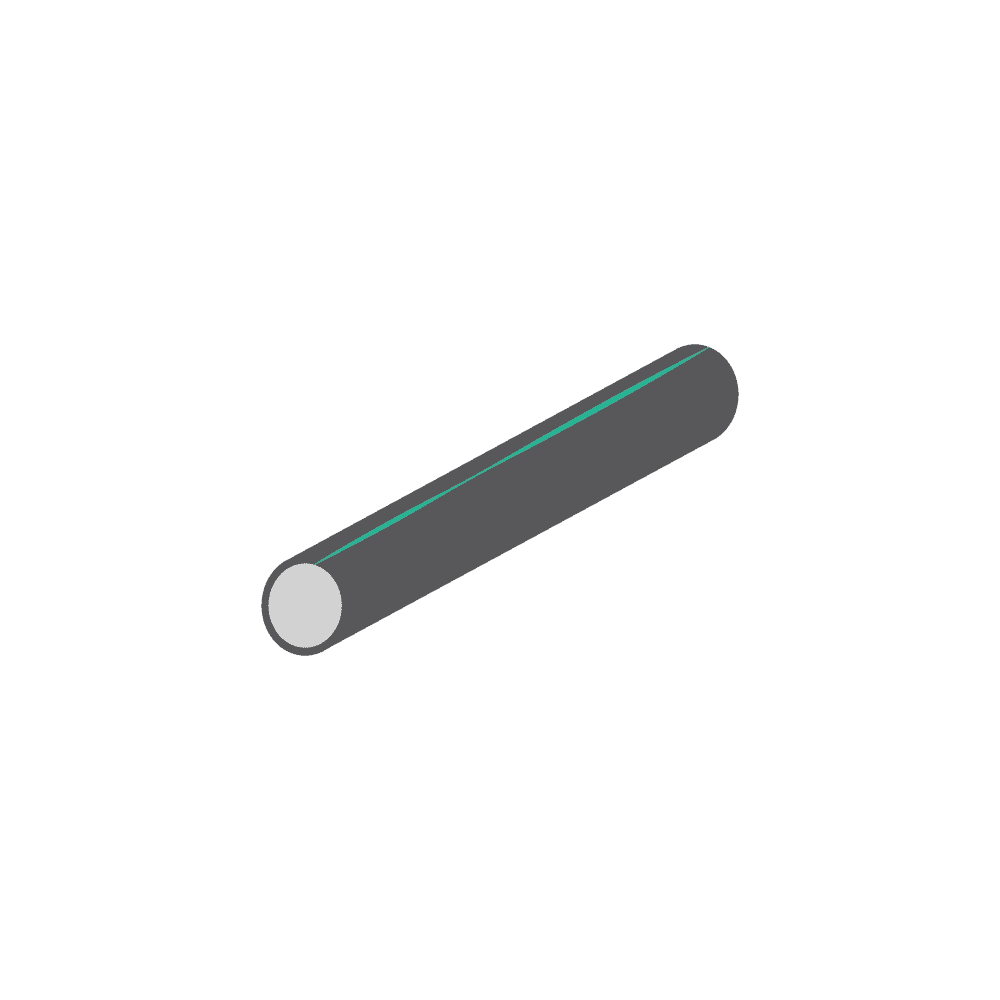
Weld seam inspection
The optical sensor technology enables non-contact testing of the weld seams for defects and tolerance compliance.

diameter & ovality
By using the MABRI.VISION high-speed focus system, the metal pipes are tested at high speed, which enables integration into your production processes.

welding process
Detection of electrode and gap in the welding process (TIG welding).

scratch test
Detection of scratches, nicks, grooves, drawing marks & other defects.
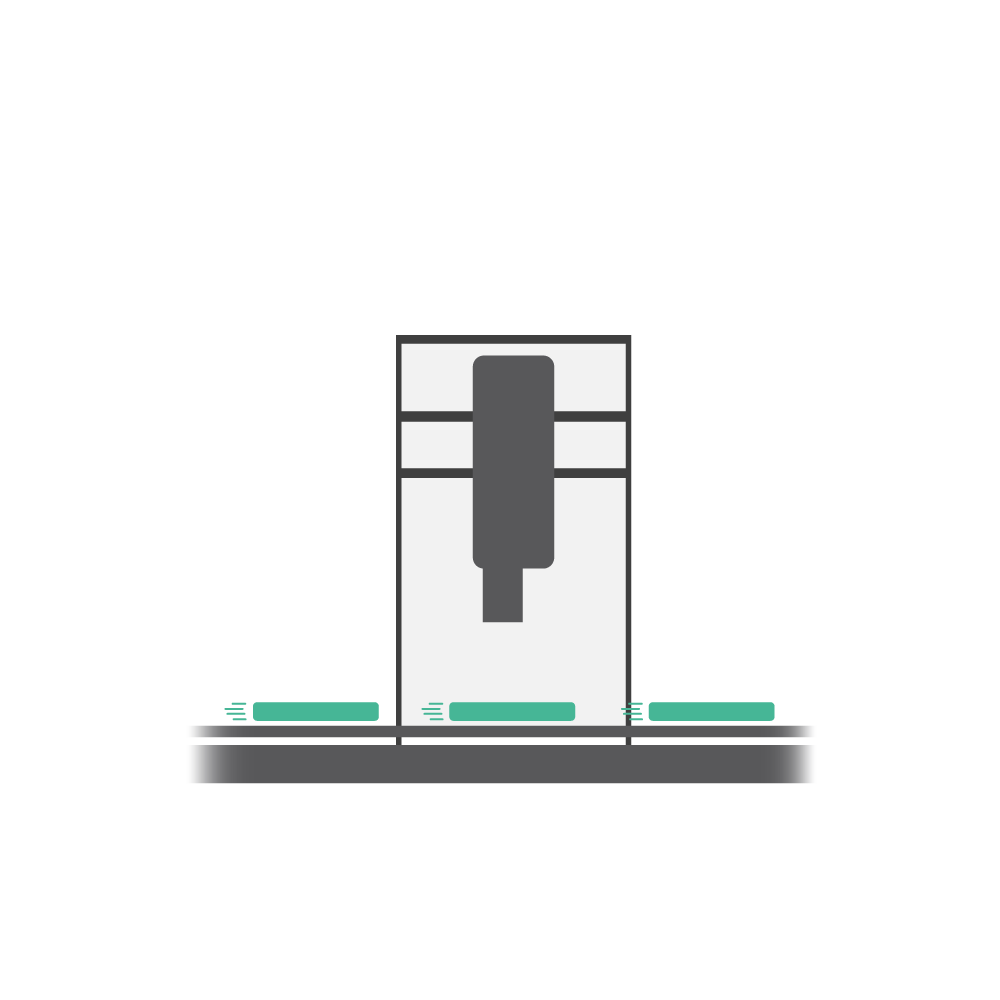
Surface inspection
Detection of surface defects with our in-house AI platform DEEP.MV.
INSIGHTS
the right solutions for your production
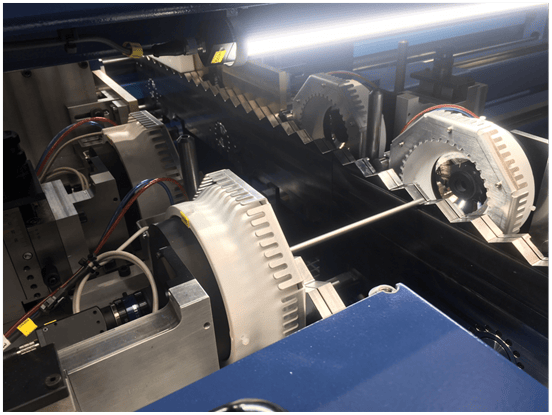
Inspection of the tube quality after sawing
In a quick double cycle of just 2.3 seconds, the system efficiently checks the inner and outer chamfer, ovality, diameter and internal tension of the tubes. It also detects defects on the pipe surface. The high flexibility of the testing system enables the inspection of pipes with different diameters and lengths, which ensures comprehensive and reliable quality control after the sawing process.
Checking the inner diameter of the pipe
Using an innovative process, we guarantee precise testing of the inner diameter of the pipe. A high-precision optical sensor is used, which moves into the rotating pipe on a lance. This advanced technology allows us to take extremely accurate measurements while ensuring end-to-end quality control. This inspection process is particularly important for tubes with variable diameters in order to consistently comply with specifications and standards in tube production.

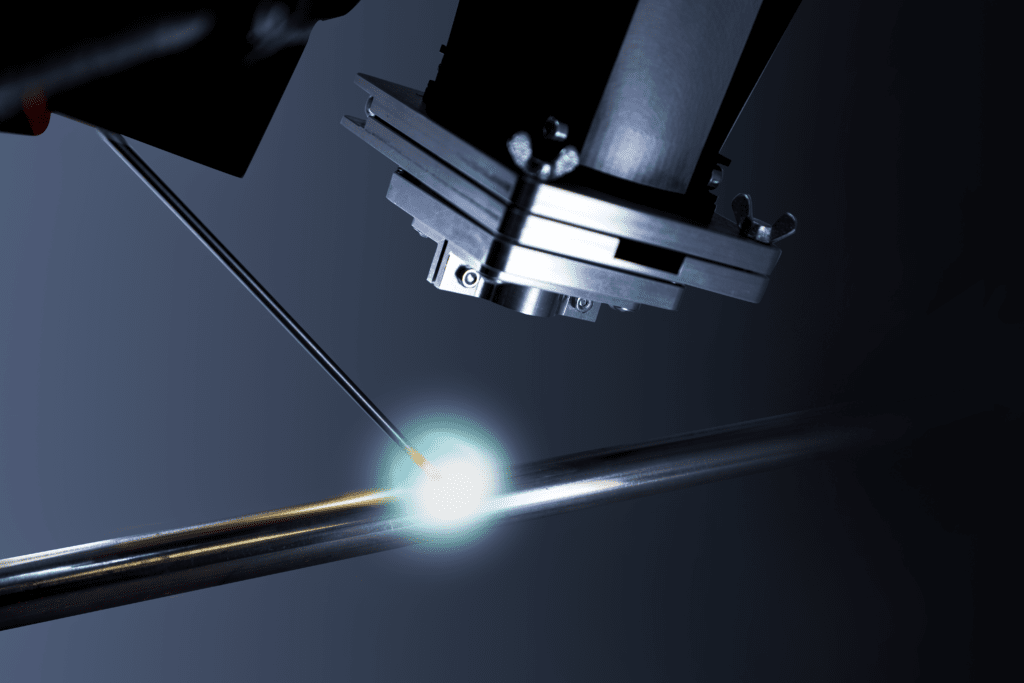
welding process monitoring
Our testing system for monitoring the welding process represents an efficient machine vision solution that can be integrated directly into the welding process. By using the latest image processing technology, we are able to monitor the welding process in real time to ensure quality, precision and safety.
Our software solutions
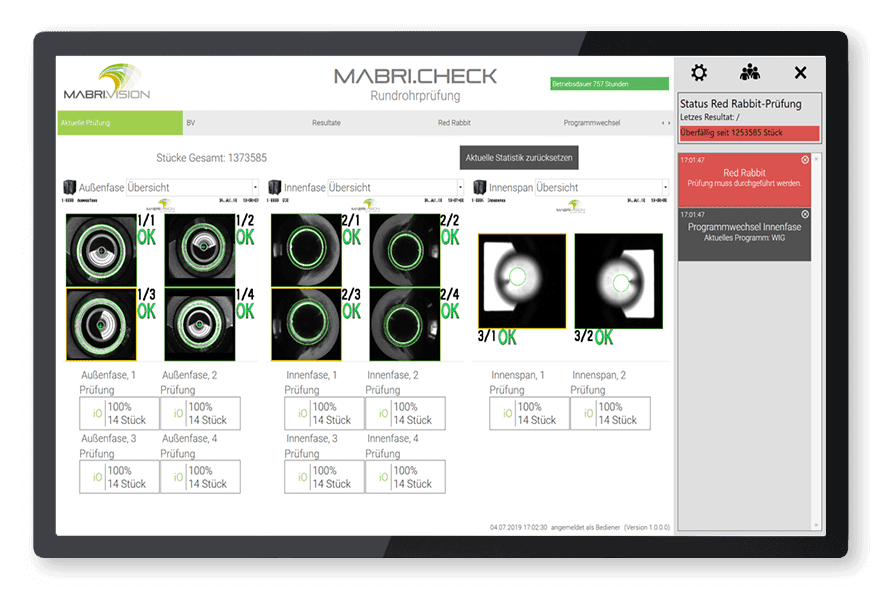
Our advanced testing software provides comprehensive solutions for data acquisition, analysis and presentation of the results. It covers a wide range of functions, from user management and database systems to the visual display of key figures and tolerances. With our software we offer user-friendly, clearly structured solutions that enable you to efficiently manage your test data and gain comprehensive insights into your test results. With MABRI.VISION you are in control of your quality data and can ensure that your production always meets the highest standards.
Pipe Testing FAQs
That depends entirely on your application and your product. We have implemented tests in which a complete test of pipes can be carried out within a few seconds. In order to further increase the throughput, we can also build parallel test stations for a double cycle.
We develop test solutions for our customers that can be integrated directly into the production line. Since the on-site conditions vary greatly, we have specialized in building our test systems from a modular system. This enables us to respond optimally to the needs of our customers.
We can build very high resolution inspection systems for inspecting tubes. Here it is important to find an optimal compromise between time, resolution and effort. We typically detect defects from 0.1 mm. However, we have also carried out tests in which the smallest scratches in the range of a few micrometers are detected.
We are working to create a platform where our customers can implement almost any exam. The systems are currently designed in such a way that the tests are carried out by our experts and extensively tested for functionality. So we can guarantee the performance of the QC.
The answer is: yes! We see ourselves as a provider of turnkey test systems, which we offer our customers as an end-to-end solution, from the inquiry through to integration and on-site commissioning.
