Medical technology, pharmaceuticals, life sciences
Inline 2D/3D measurement on the product carrier MV.EYE i2 WT
Non-contact 100% production control in production cycles
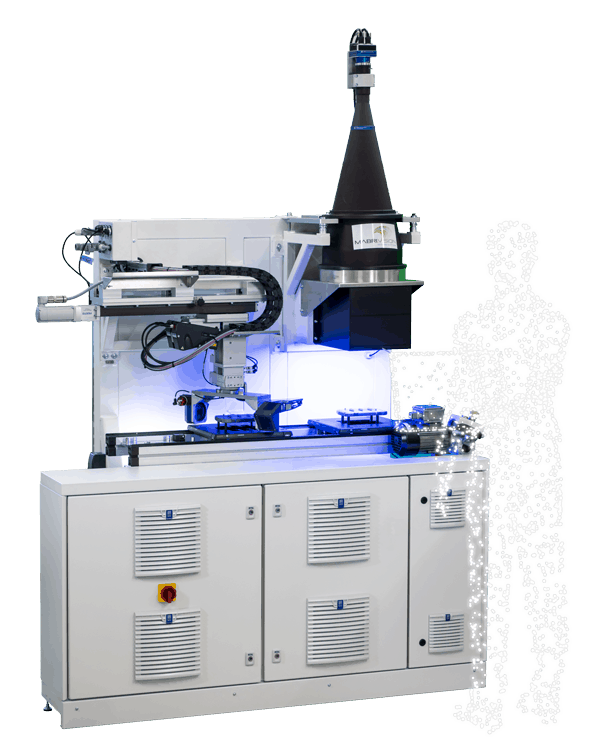
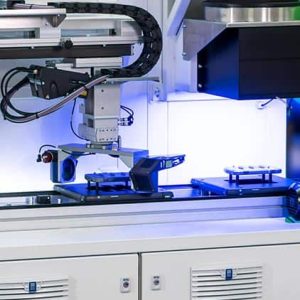
With the MV.EYE i2 WT testing system, MABRI.VISION offers an inline-capable vision solution for complete quality testing in your production line. The testing system enables non-contact testing of 2D and 3D component features and can be smoothly integrated into the system environment using common industrial interfaces. Special features of the testing system are the high speed of the testing processes, which enables testing in line with production cycles, as well as the modular system structure. When designing the testing system, the MABRI.VISION experts rely on the use of the latest technologies. By combining a 3D surface inspection, a large-area telecentric 2D inspection and a 2D & 3D inspection with an optical micrometer, a 100% inspection of your components is implemented. The special feature of combining different test sensors is that the tests are not only viewed independently of each other. By transferring them to a common coordinate system, high-precision results can be delivered.
Replace your CMM testing processes with the MV.EYE i2 WT testing system and achieve a significant acceleration of your quality assurance. You benefit from a testing system that supports your production through automation and comprehensive evaluation options.
The testing system for automated production processes
The MV.EYE i2 WT testing system is designed for fast, optical inline testing. Through high-speed testing and the use of parallelization mechanisms, the system supports your production with an efficient testing process.
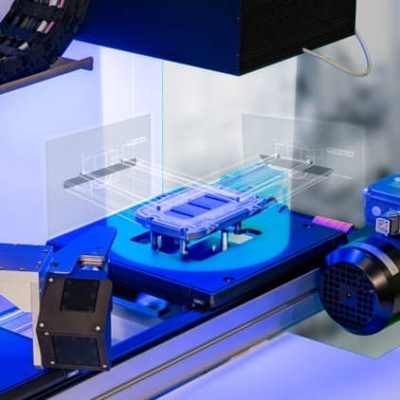
Feature fusion from 3 measuring stations
In the MV.EYE i2 WT testing system, MABRI.VISION not only uses different sensors and testing methods to check the characteristics of your components, but also combines the test data received and calculates the coordinate systems for optimal test results.
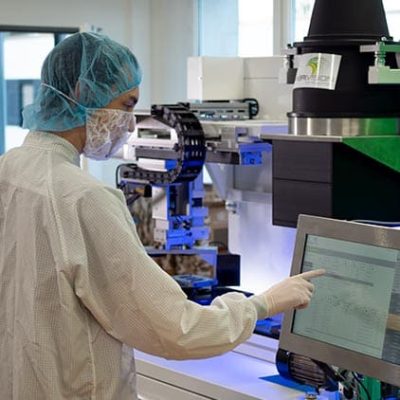
Production processes in the clean room
The MV.EYE i2 WT testing system is suitable for use in clean rooms in various industries, such as medical technology or pharmaceutical production. Our software is designed for connection to ERP systems. The testing system can be equipped with an enclosure and a clean room filter and can be integrated into your production chain using common interfaces.
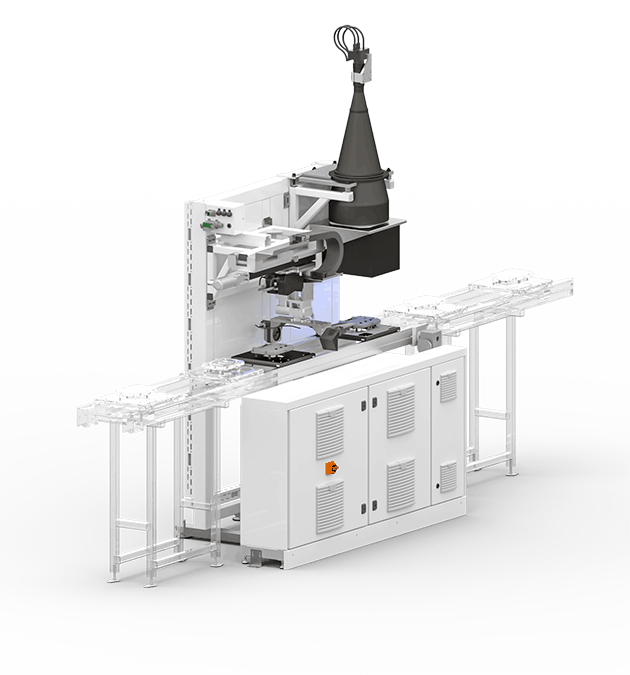
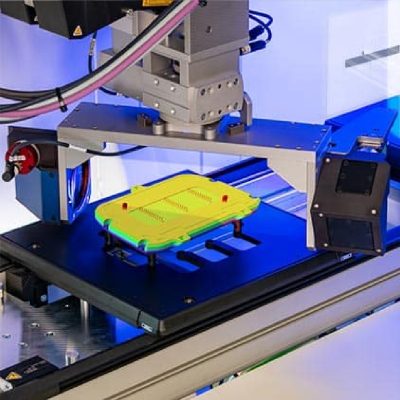
Combination of 2D & 3D testing methods
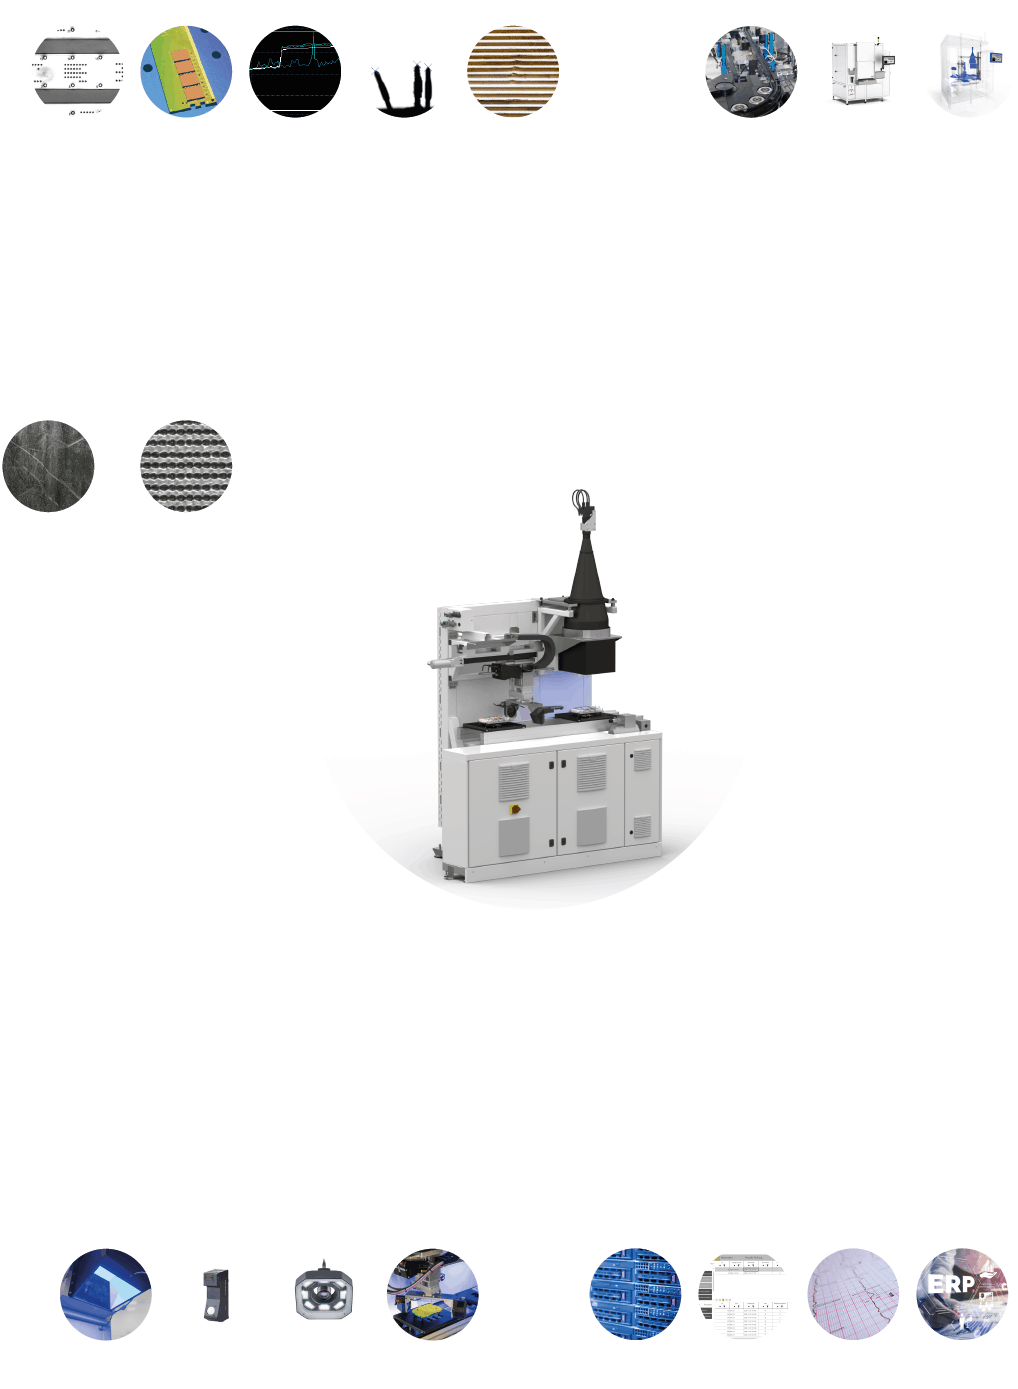
In order to map the required test protocols of our customers, we combine different sensors in the test system. The combination of laser triangulation and optical micrometer for 3D feature recognition and large-area telecentric vision systems with cameras for 2D feature detection are often used.
Permanently precise results
As standard, we supply calibration standards to meet the ISO 10012 standard with traceability to national calibration standards. All of our calibration standards come from DAkkS certified testing laboratories with the corresponding calibration certificate. The MABRI.VISION software supports you in the regular testing of the measuring system as part of testing equipment monitoring. No expert knowledge is required to carry out the test.
Cycle time-neutral high-speed testing
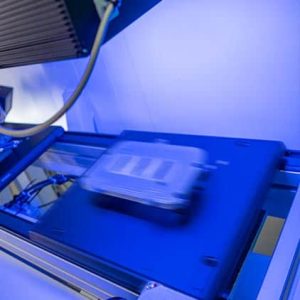
By using carrier systems, a particularly high inspection cycle can be achieved. With the MV.EYE i2 WT inspection system, you can perform continuous inspections at a production cycle of less than 5 seconds. With 24/7 production capacity, this means that over 5 million parts pass through the inspection system annually.
software
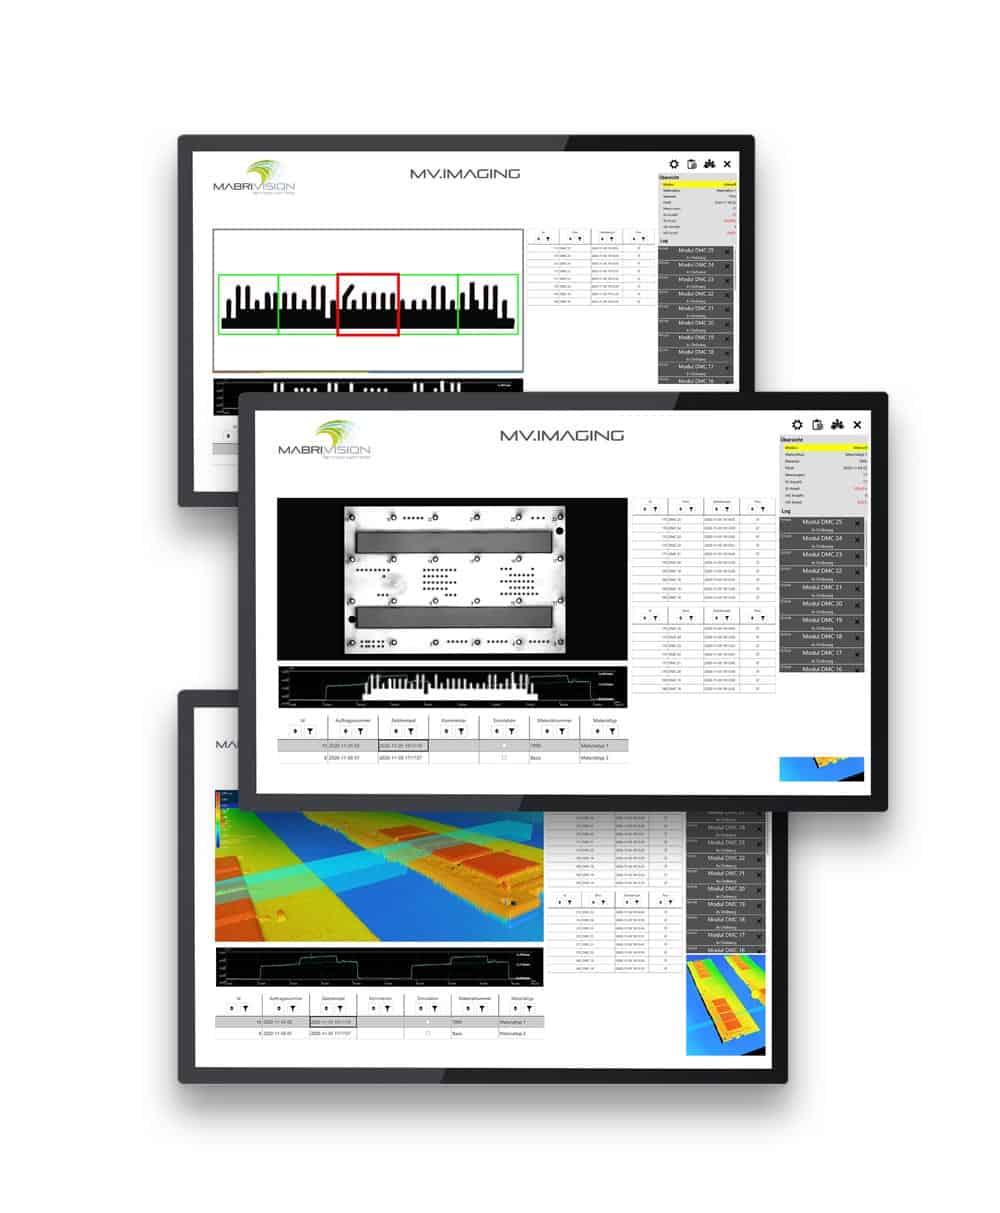
Through numerous projects in different industries, our software is tailored to industrial needs. The software platform offers you a variety of visualization options. This means you can keep an overview of production processes and quality assurance through meaningful evaluations. The MABRI.VISION software follows efficient programming even for complex testing tasks in order to enable evaluation in time with your production.
Intuitive user interface
Made for production
We achieve the balancing act between industrial software and a modern user experience by combining various platforms and technologies in our framework. This is how we map real-time processes and the usual Windows environment in one. This enables you to operate our testing systems efficiently and with little training. Features include:
- Process metrics and visualization of relevant results
- Seamless tracking through result exports and databases
- Batch management
- Calibration and evaluation options
- Integration through all industrial interfaces
- Advanced user management with audit trail
Artificial intelligence
Modular construction
The requirements of modern production environments are diverse and challenging. None of the complex manufacturing processes are the same - which is why adaptable solutions are required, especially in terms of quality control. The MABRI.VISION testing system MV.EYE i2 WT is designed so that it can be modularly adapted to your production conditions.
You benefit from a variation of 2D and 3D tests. For example, 2D measurements are used to determine the presence of features and their exact positions. In addition, defects such as scratches or discoloration can also be detected.
The advantages of 2D inspections are their high speed and robust data acquisition. 3D measurements generate precise height information and determine dimensional accuracy in the sub-micrometer range. The multimodality of the MV.EYE i2 WT inspection system enables its use in a variety of industries and is particularly popular where standalone solutions fail due to complexity.
