MV.EYE CR1
Chromatic confocal line sensor: fast surface inspection
MV.EYE CR1
Chromatic confocal line sensor: fast distance and thickness measurement
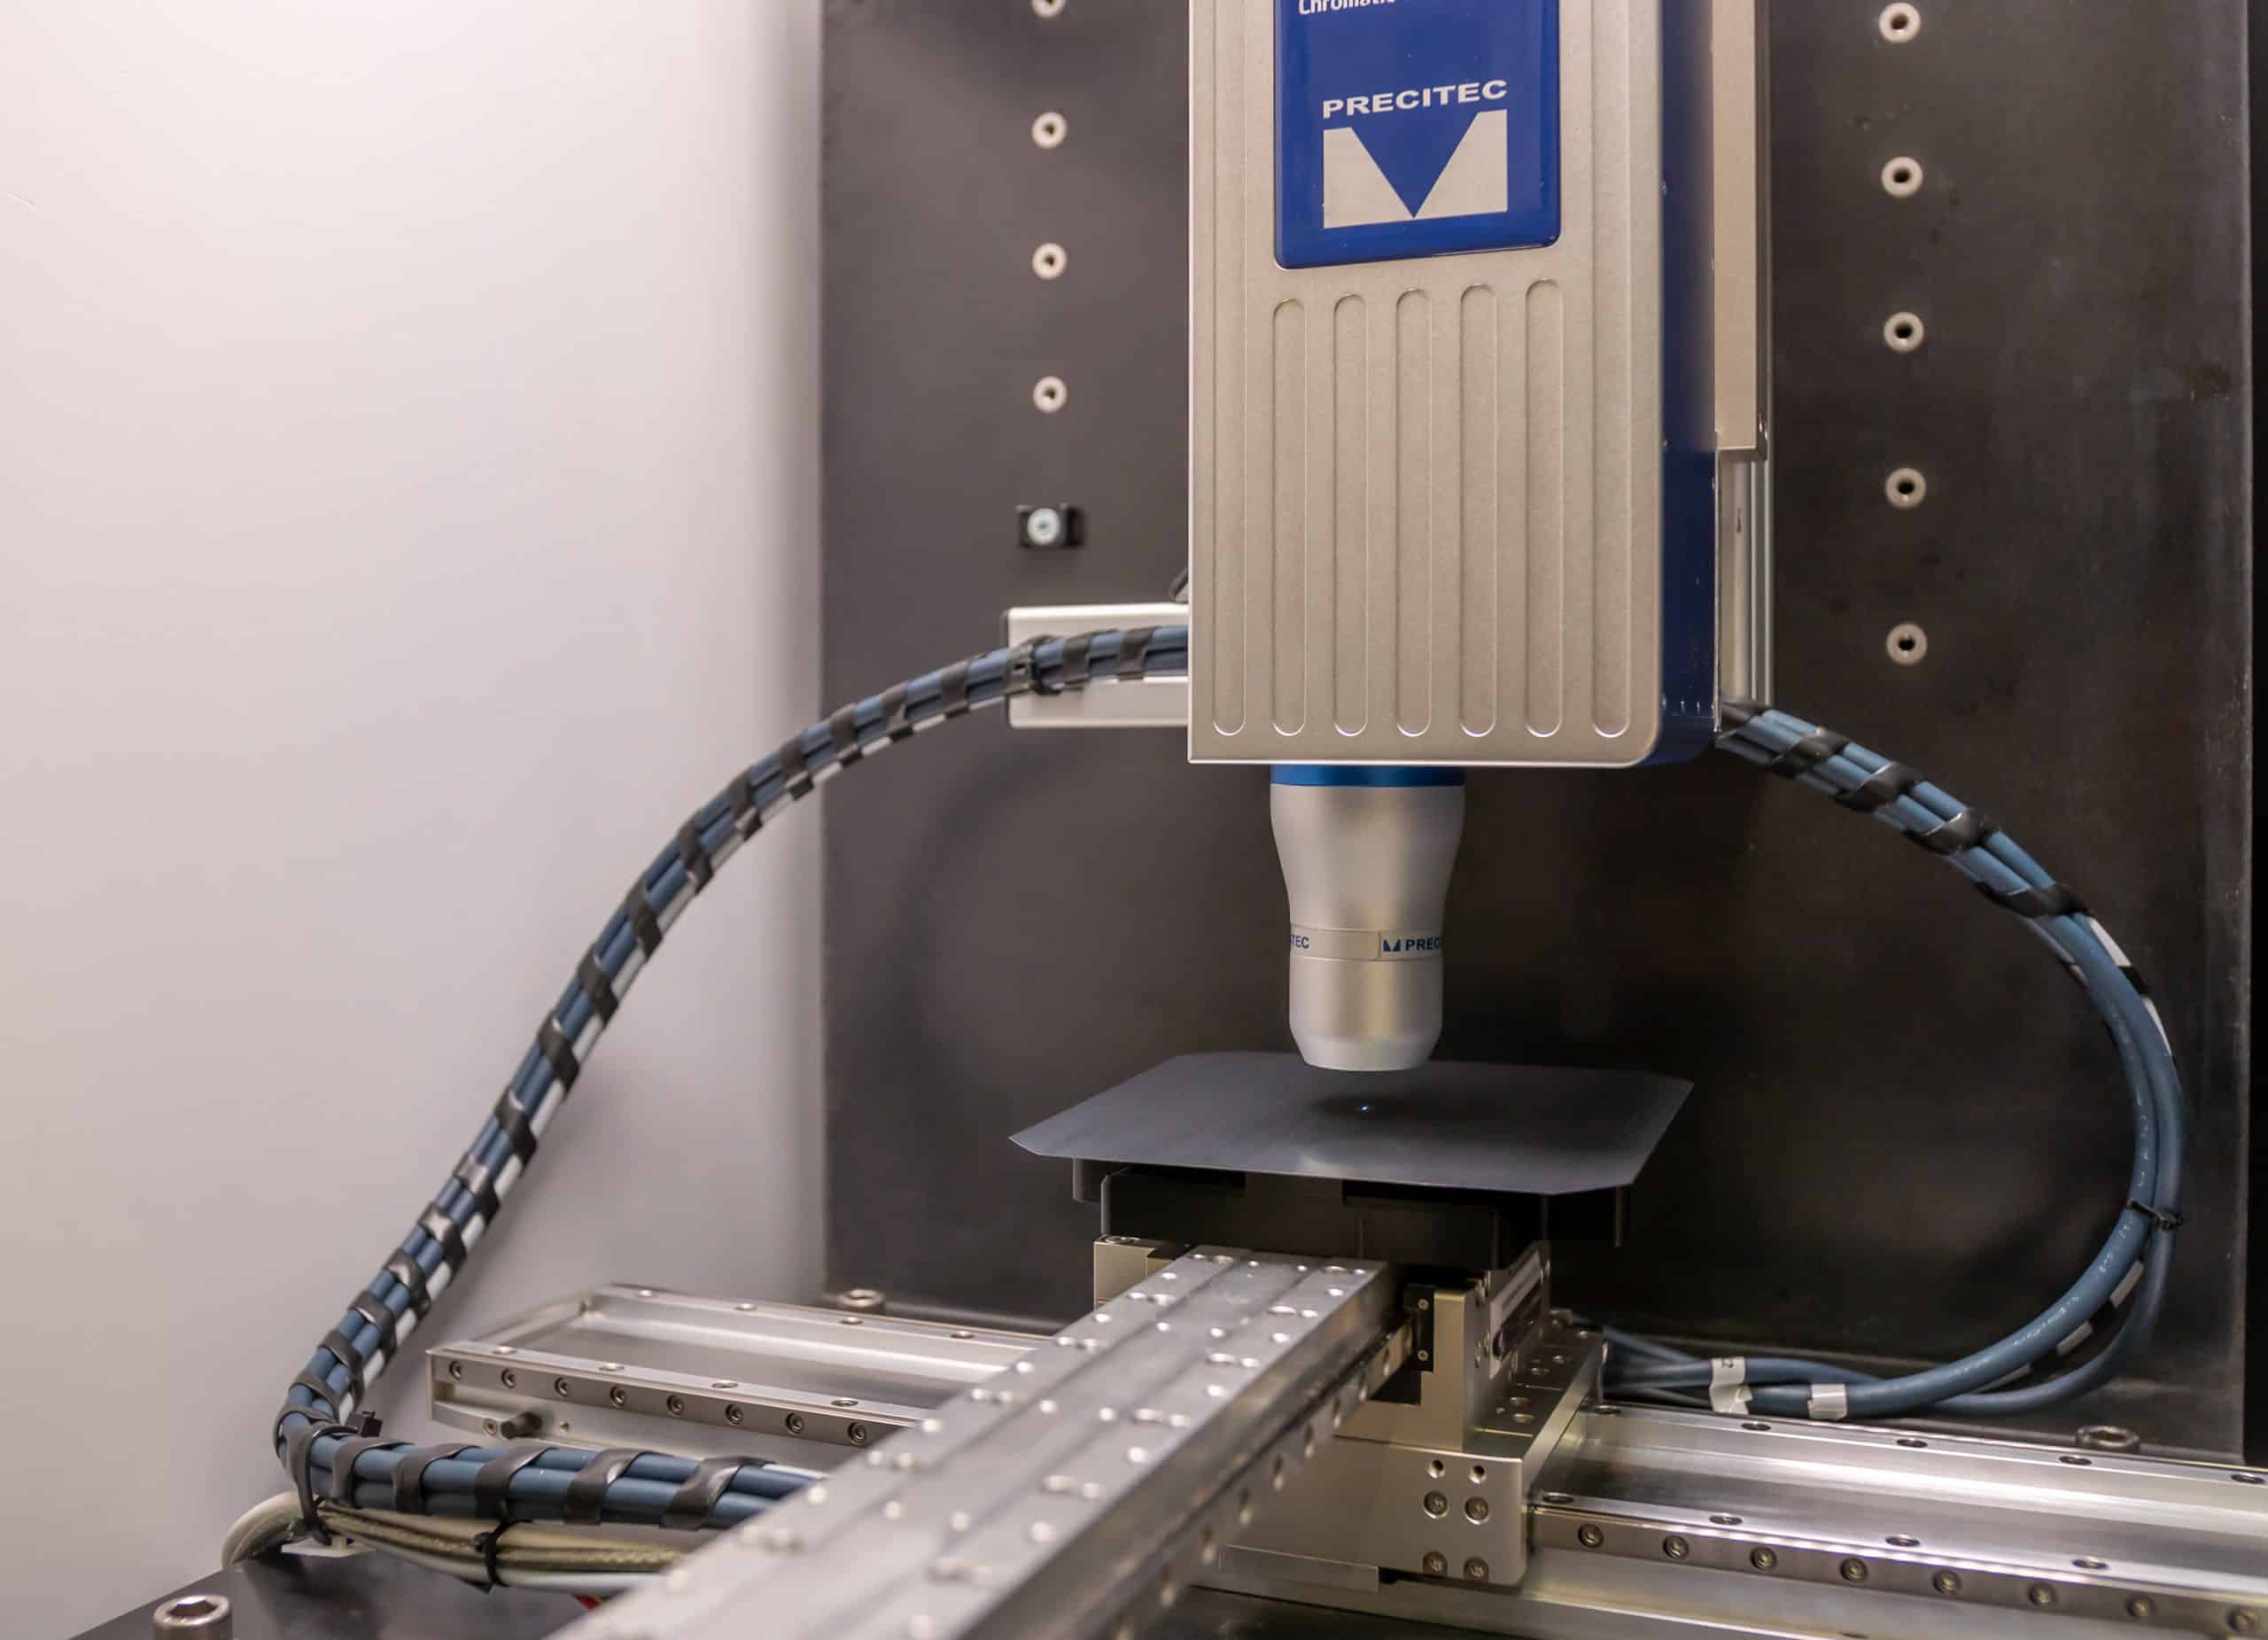
The MV.EYE CR1 optical inspection system from MABRI.VISION combines the best of both worlds. It combines a chromatic confocal sensor with an automated axis system.
The MABRI.VISION inspection system can be integrated into your production processes to enable rapid surface inspection. Thanks to its modular design, the axis system can be scaled as needed. The software modules can also be customized and tailored to the specific requirements of your production. This provides you with a customized solution for your quality assurance needs.


chromatic line sensor
The MABRI.VISION MV.EYE CR1 testing system is characterized by its precise testing of large surfaces in a very short time. The maintenance-free and robust sensor performs reliable distance and thickness measurements and is designed for industrial use.

extreme Z-measuring range
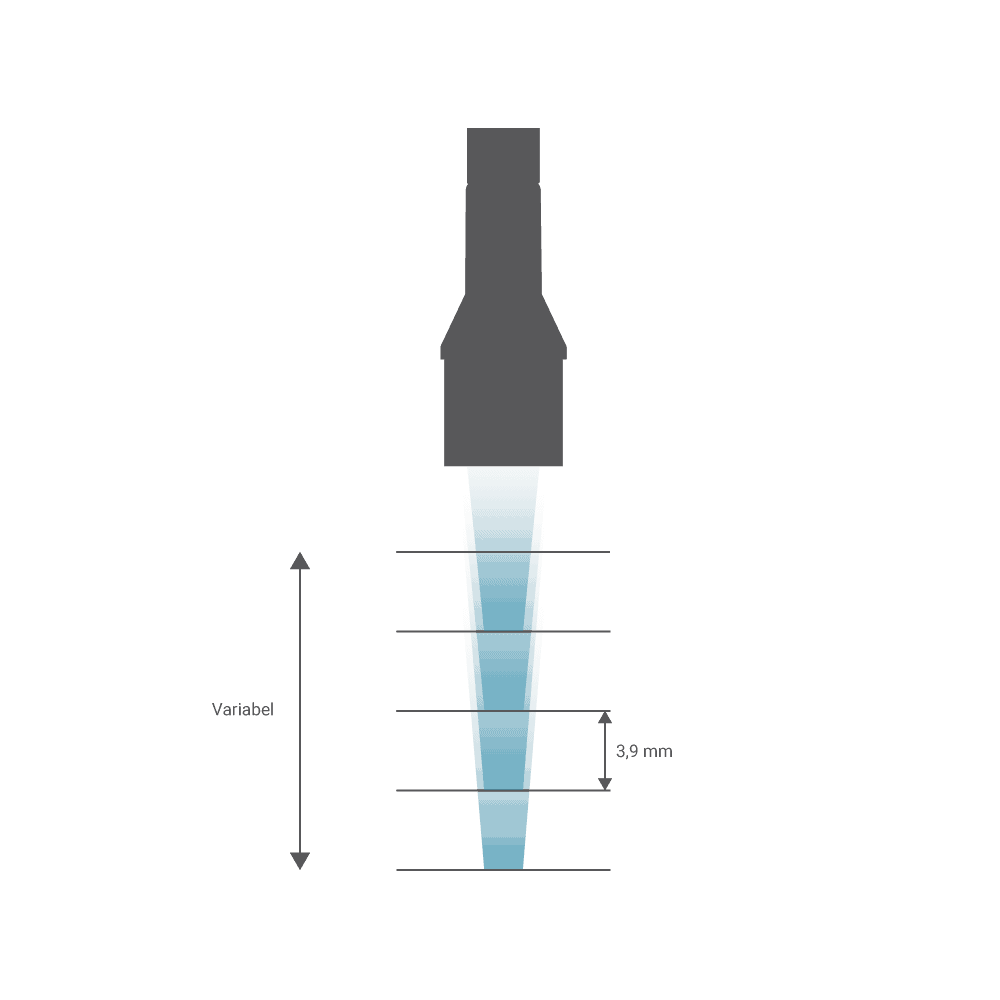
Depending on the measuring head, the Z-measuring range of the MV.EYE CR1 testing system extends from 500 µm to 3 mm and can be further increased and adapted to your testing requirements by flexible scaling of the Z-axis.

scalable platform
Thanks to its modular design, the axes of the MABRI.VISION measuring system, as well as their dimensions, can be scaled and configured as needed. A granite table is used for maximum damping.

integrable
The MABRI.VISION MV.EYE CR1 testing system can be seamlessly integrated into your production processes. We provide the necessary software interfaces and support you in automating your testing process.

extremely fast
The use of a chromatic confocal sensor enables extremely high measurement speeds. Up to 2,000 lines can be inspected per second. With up to 192 measuring points per line, a measurement rate of 384,000 points per second is achieved.

smart evaluation
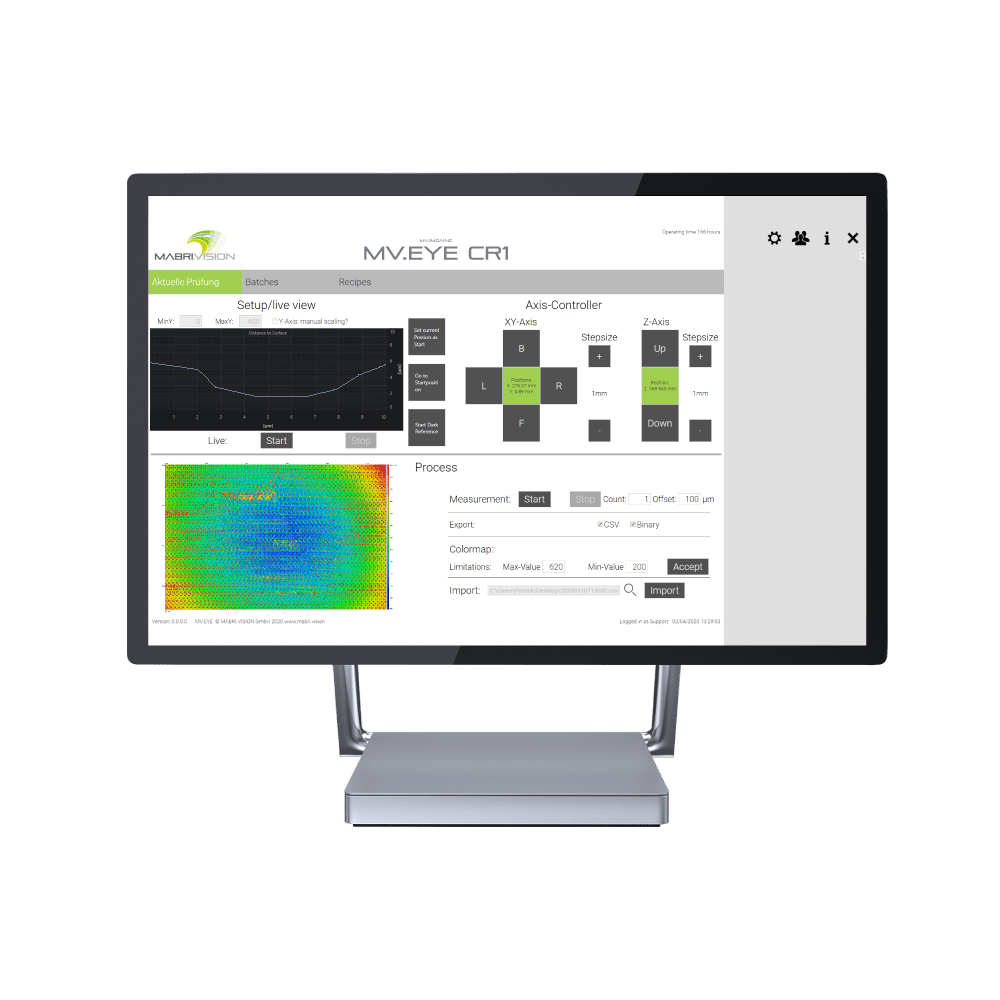
MABRI.VISION's MV.IMAGING software is characterized by its intuitive operation and straightforward feedback. Extensive interfaces are available to the user. The software modules are designed for automated testing.
Specifications
Universal: versatile in its applications
Medical technology
In the field of medical technology, the MV.EYE CR1 testing system is used to check microstructures in molded plastic components due to its fast measurement process.
Semiconductor technology
The MABRI.VISION MV.EYE CR1 inspection system is ideally suited for wafer inspection. Even large surfaces can be scanned in a very short time.
Toolmaking
By using chromatic confocal sensors, the MV.EYE CR1 testing system enables highly precise inspection of mold tools in the production cycle.
contact
Do you need more information about a specific product group or do you have a specific product inquiry? Please use our contact form or give us a call.
- MABRI.VISION GmbH Philipsstraße 8 52068 Aachen
- +49 241 5652 7930
- info@mabri.vision

