Automotive, e-mobility, energy
Automated optical inspection of IGBT power modules
Errors frequently occur during the production of injection-molded parts, leading to defective components. With its MV.EYE i2 product line, MABRI.VISION enables the automated optical inspection of various power modules/IGBT modules.
What are we testing?
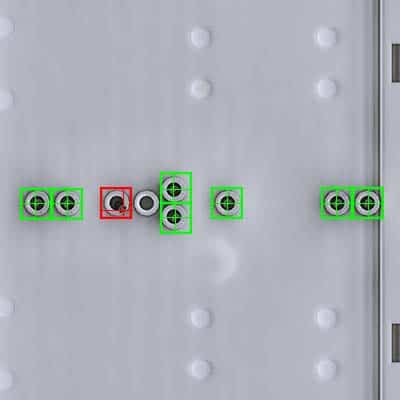
Pins
- Pin bending
- Pin position (X,Y)
- Pin height (Z)
- tumbling circle
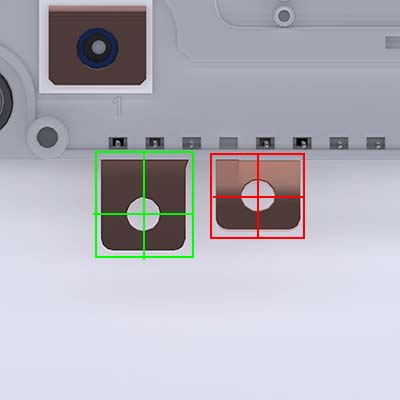
Terminals
- Contact bending
- diameter
- Position (X,Y)
- Height (Z)
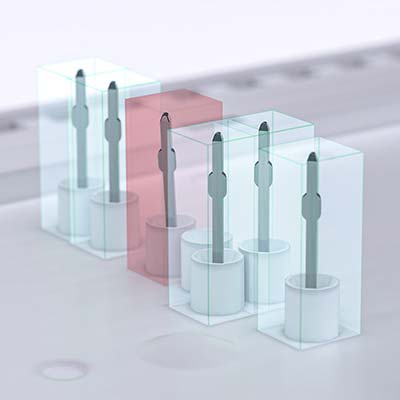
Alignment pins and contacts
- Defects
- diameter
- Position (X,Y)
- Height (Z)
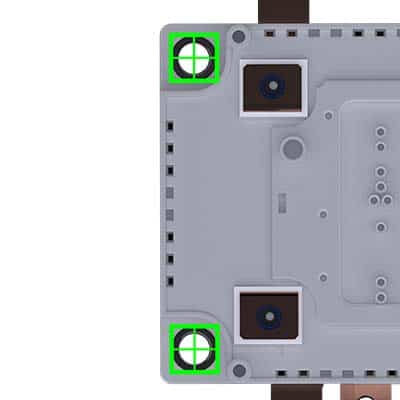
Base plate drilling
- Defects
- diameter
- Position (X,Y)
- Height (Z)
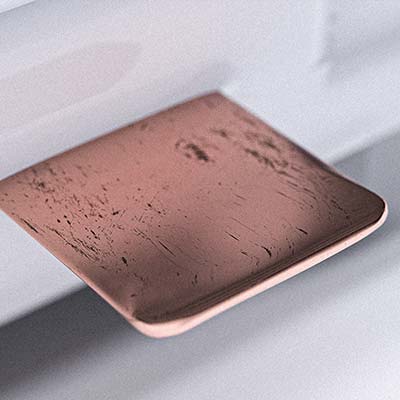
Defects and anomalies
- scratch
- pollution
- Misimages
- Discoloration

Typography and printing
- OCR, text recognition
- Missing text
- DMC / QR codes
Advantages and special features
100% inspection in line with production cycle
Testing of all features on the power module using a test system
Data storage, measurement reports and documentation images
Interface to your ERP and production system
Flexibly adaptable for different power modules
Flexibly adaptable test recipes, individually expandable test characteristics
More cost-effective compared to complex manual inspection using, for example, coordinate measuring machines
Our solutions
MABRI.VISION specializes in the development and implementation of complete vision solutions for use in production and research. Whether 100% inspection directly on the workpiece carrier system or in a cleanroom: by combining different high-performance optics, we meet your individual inspection requirements.
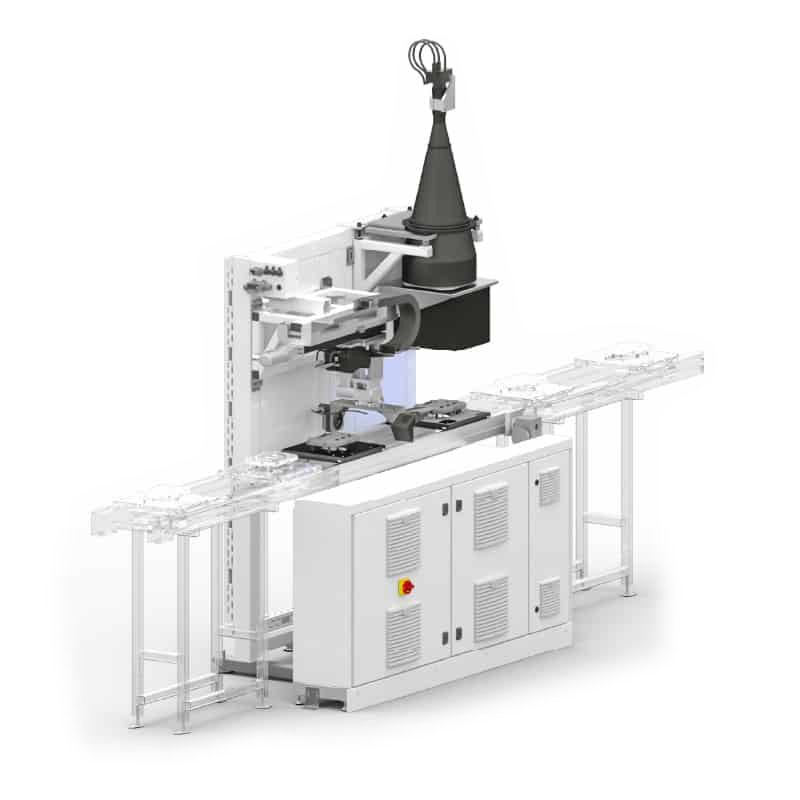
Inspection of the goods carrier system
Combination of 2D and 3D inspections for comprehensive 100% inline component measurement on the workpiece carrier.
Testing on the rotary clock
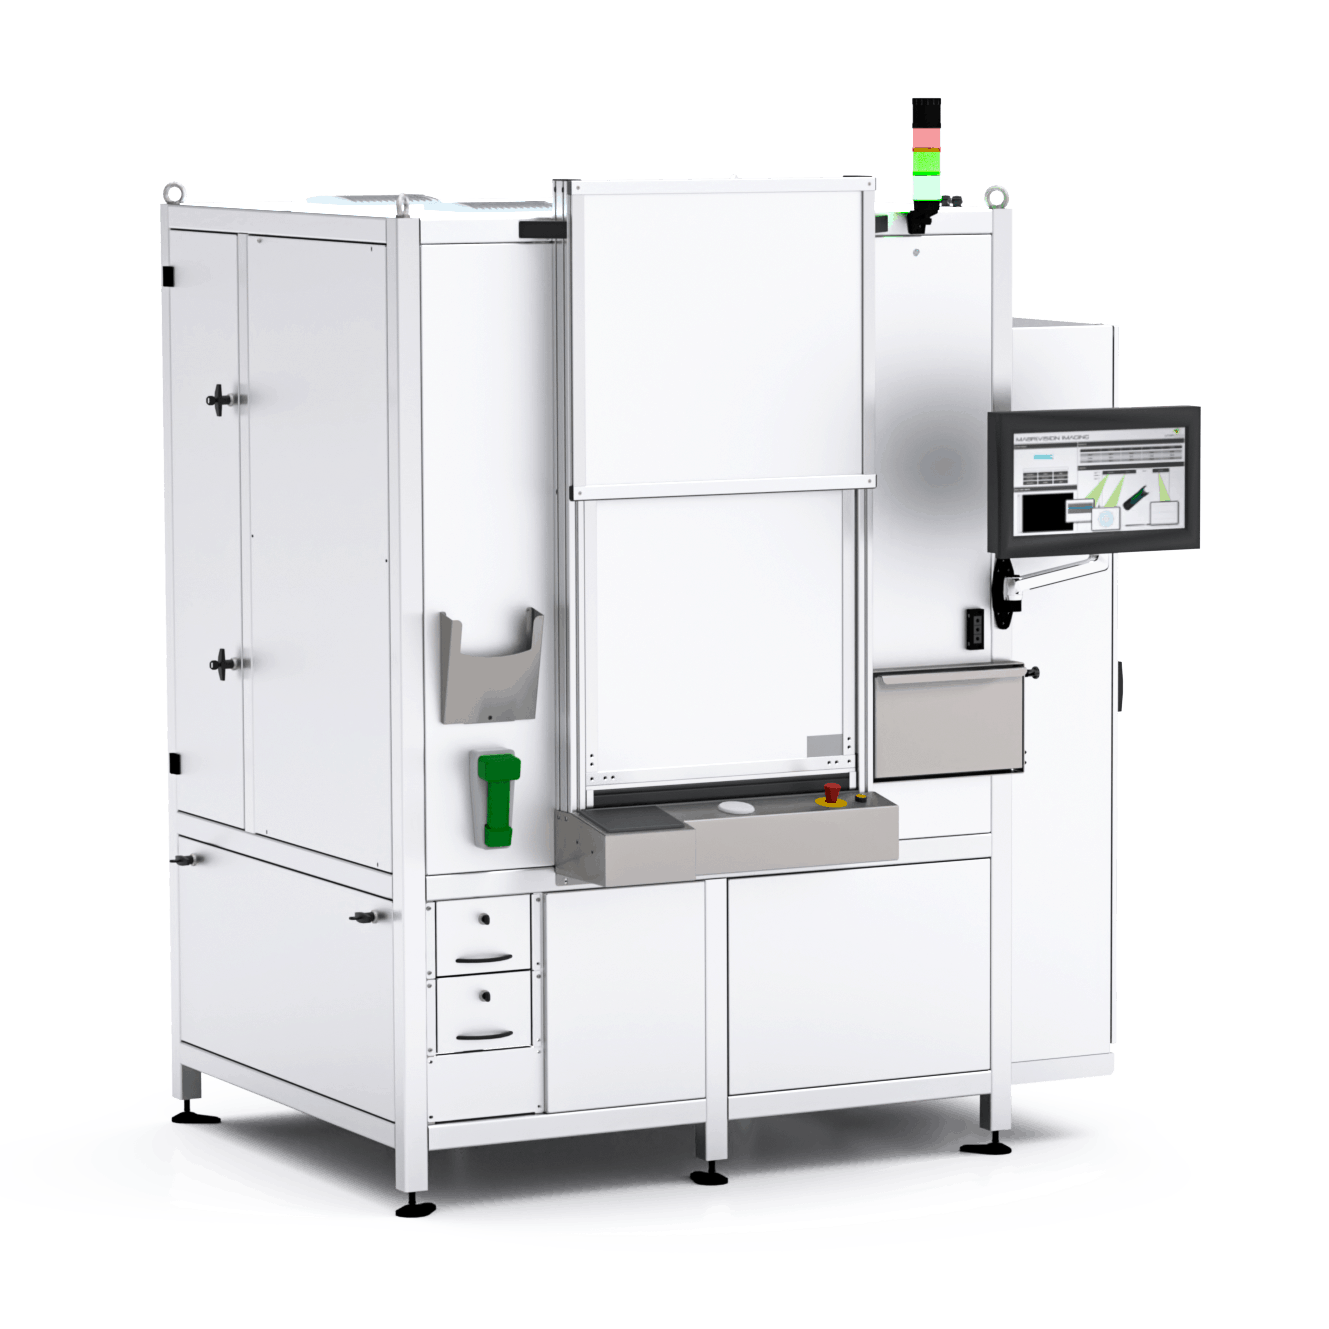
Our rotary indexing test system enables a wide variety of tests in a confined space, with manual or automatic loading.
How do we test
The testing procedures are modular and can be combined in various ways, depending on the properties and characteristics of your component that need to be tested. Depending on the requirements and component size, it is also possible to vary the size of the sensors.
Shadow casting system
When inspecting components using the shadow projection principle, the contours of the test parts are captured with high accuracy. This allows even difficult features, such as contact pins and prongs, to be measured, which are often challenging for other 3D inspection methods. The addition of this inspection unit achieves high flexibility in the detection of difficult test features, even with short cycle times. This inspection technology is not only impressive due to its precision, but also due to its high measurement rate, even for complex inspection tasks. Shadow projection inspection is therefore ideally suited for inspecting moving products directly on the production line.

Special features

Measurement characteristics
- Height, width, length
- Angle positions
- Shape measurement
- Measuring, among other things, contact pins / pins
Image field
700 x 70 mm
System resolution
71 MP
Sampling time
from 20 ms
Special features
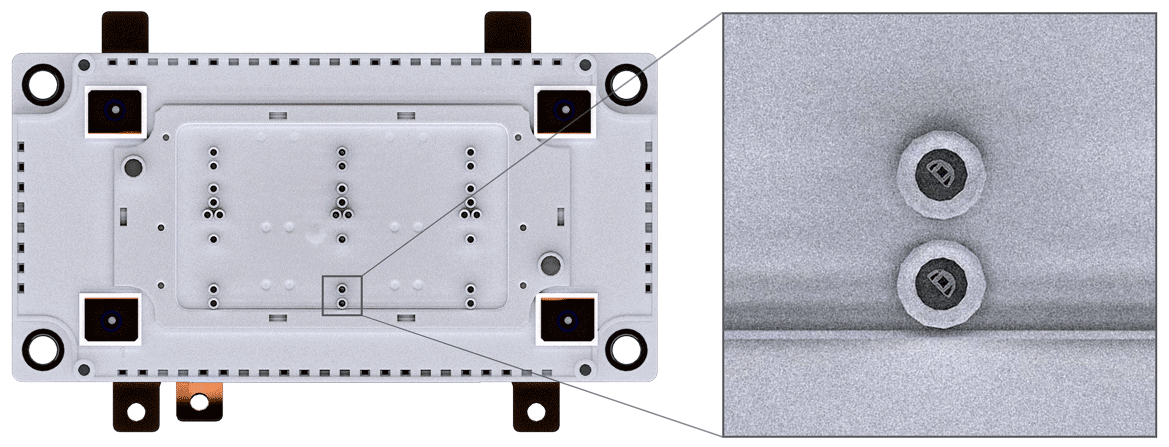
The telecentric 2D inspection system boasts a high resolution of up to 71 MP and a scanning time starting at 20 ms. Despite a large field of view, telecentric inspection is possible. The inspection system is supported by precisely calibrated lighting.
Measurement characteristics
- Length, width, position
- Defects, scratches and
- Contamination
- 2D shape inspection
- Target/Actual Comparisons
Image field
280 x 280 mm
precision
71 MP
Sampling time
from 20 ms
Telecentric 2D inspection
Precise inspection of large components using 2D camera technology is challenging. This is due, firstly, to the lack of 3D information and, secondly, to the demands placed on the camera and optics. We address these challenges by using special telecentric lenses with a large field of view. In addition, we utilize the latest camera technologies, thereby achieving new levels of precision and resolution. Furthermore, we use the 3D information from the other inspection stations to further optimize the alignment of the measurement plane.
3D line sensor
Line sensors are an effective and cost-efficient solution for inspecting 3D features and for complete component digitization. Their speed and precision in surface measurement are particularly noteworthy. The use of the latest light section sensors enables highly accurate measurements even of multilayered, reflective, and transparent materials.
Thanks to their high measurement speed of up to 6 million measurement points per second, 3D line sensors are ideally suited for use in inline inspection systems. These robust sensors easily withstand the specific demands of high-efficiency industrial environments. Benefit from fast, three-dimensional surface scanning for both non-contact and comprehensive inspection in your production.

Special features
With up to 6 million data points per second, the 3D line sensor is one of the most widely used sensors in industrial inline applications. Robust measurements with resolutions in the single-digit micrometer range meet industry standards. The 3D line sensor is flexibly applicable to various surfaces.

Measurement characteristics
- Height, length and width
- shape and position
- Target/Actual Comparison
- Component digitization
Measuring width
2 x 240 mm
Resolution X
25 µm
Resolution Z
4 µm
software
Intuitive user interface
Made for production
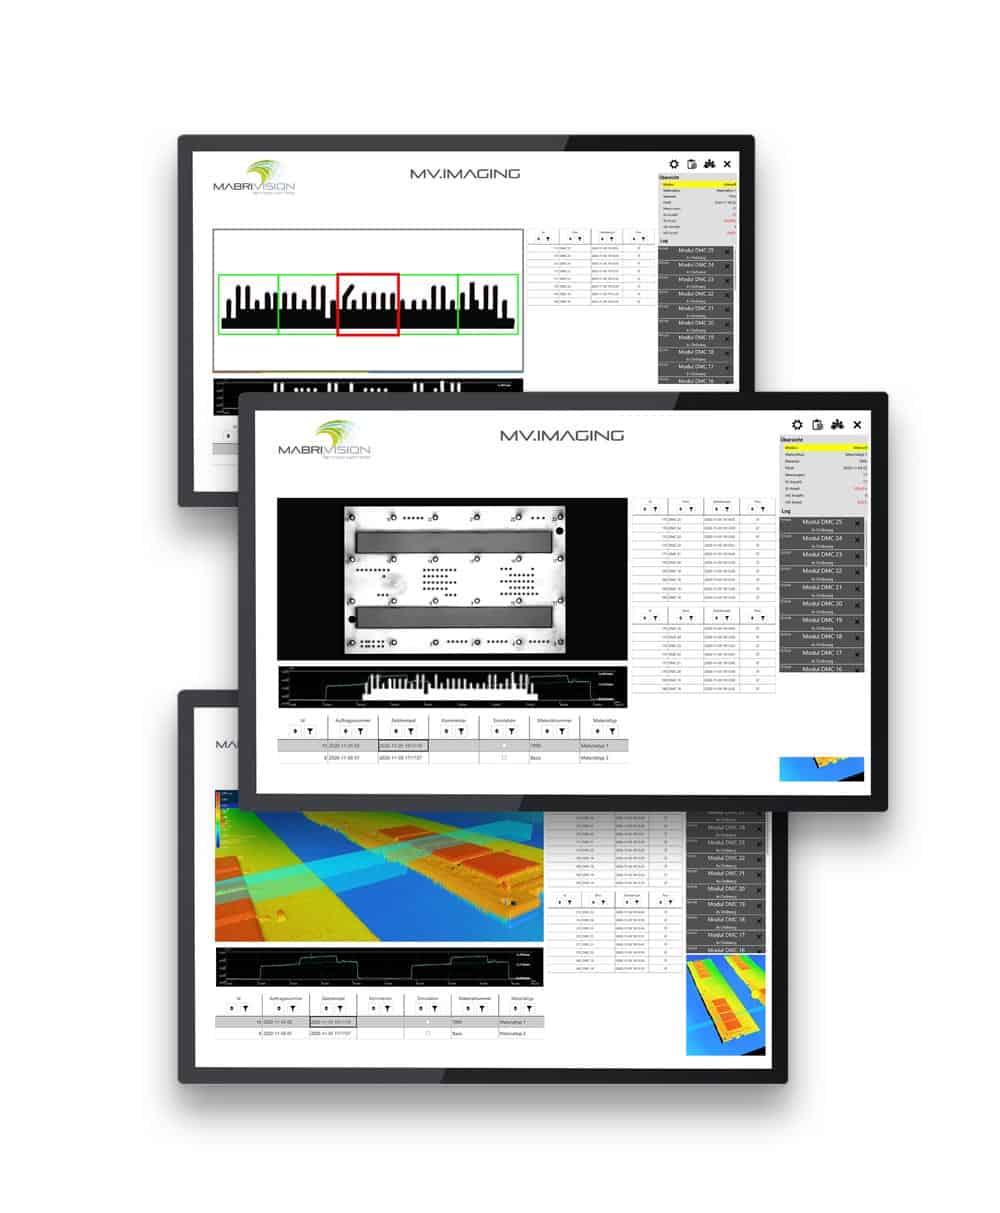
We achieve the balance between industrial software and a modern user experience by combining various platforms and technologies in our framework. This allows us to map real-time processes and the familiar Windows environment into a single system. As a result, you can operate our testing systems efficiently and with minimal training. Features include:
- Process indicators and visualization of relevant results
- Seamless tracking through result exports and databases
- Batch management
- Calibration and evaluation options
- Integration through all industry interfaces
- Advanced user management with audit trail
Artificial intelligence
At MABRI.VISION, machine learning and artificial intelligence are more than just marketing terms. Our experts assess during the design phase whether the use of AI solutions can meaningfully support the testing process.
Modular design
The demands of modern production environments are diverse and challenging. No two complex manufacturing processes are alike – which is why adaptable solutions are particularly needed for quality control. The MABRI.VISION MV.EYE i2 WT inspection system is designed to be modular and adaptable to your specific production conditions.
Exams
automation
The MABRI.VISION inspection system is suitable for use with various workpiece carrier systems in production. Depending on the requirements of your application, the MABRI.VISION team will gladly implement the inspections in a rotary indexing system as well.
Sensors
software
